Whether you are:
-
A young mother wanting to stop time, to capture moments of life, through an online photo album,
-
A webmaster who wants to improve their website's performance.
-
An influencer looking for creative photo ideas, to have a nice Instagram feed,
-
Or a globetrotter creating a travel blog…
-
…. There are tons of different reasons to get into photography
But if you're a novice, your camera (DSLR or smartphone) may seem a little intimidating.
If that's the case, here are some of our favourite tips for making beautiful photos for your website.
So grab your camera, let's get started! 📸
Are you taking photos for your portfolio? It's a great habit!
Illustrating your site or blog is really essential, and not just for a photographer website!
Certainly, you can find royalty-free images on the internet…
But if you can, it is better to create your own visuals.
Here are our best tips to improve your shots, when shooting your photos.
Tips for creating great photos for your website: prepare well
Taking good photos starts before you even pick up your camera…
First, keep your eyes open
Observe, be attentive. And above all, try to be reactive, so as not to miss the perfect shot, when it presents itself.
Stay on the lookout and be ready to pull out your camera at any moment…
Have a camera with you at all times
You can't take great pictures, if you don't have a camera with you, can you?
Whether it's a DSLR or a phone camera, it doesn't really matter.
As long as you have access to a camera, you are able to capture those spontaneous and unique moments in life that you might otherwise have missed.
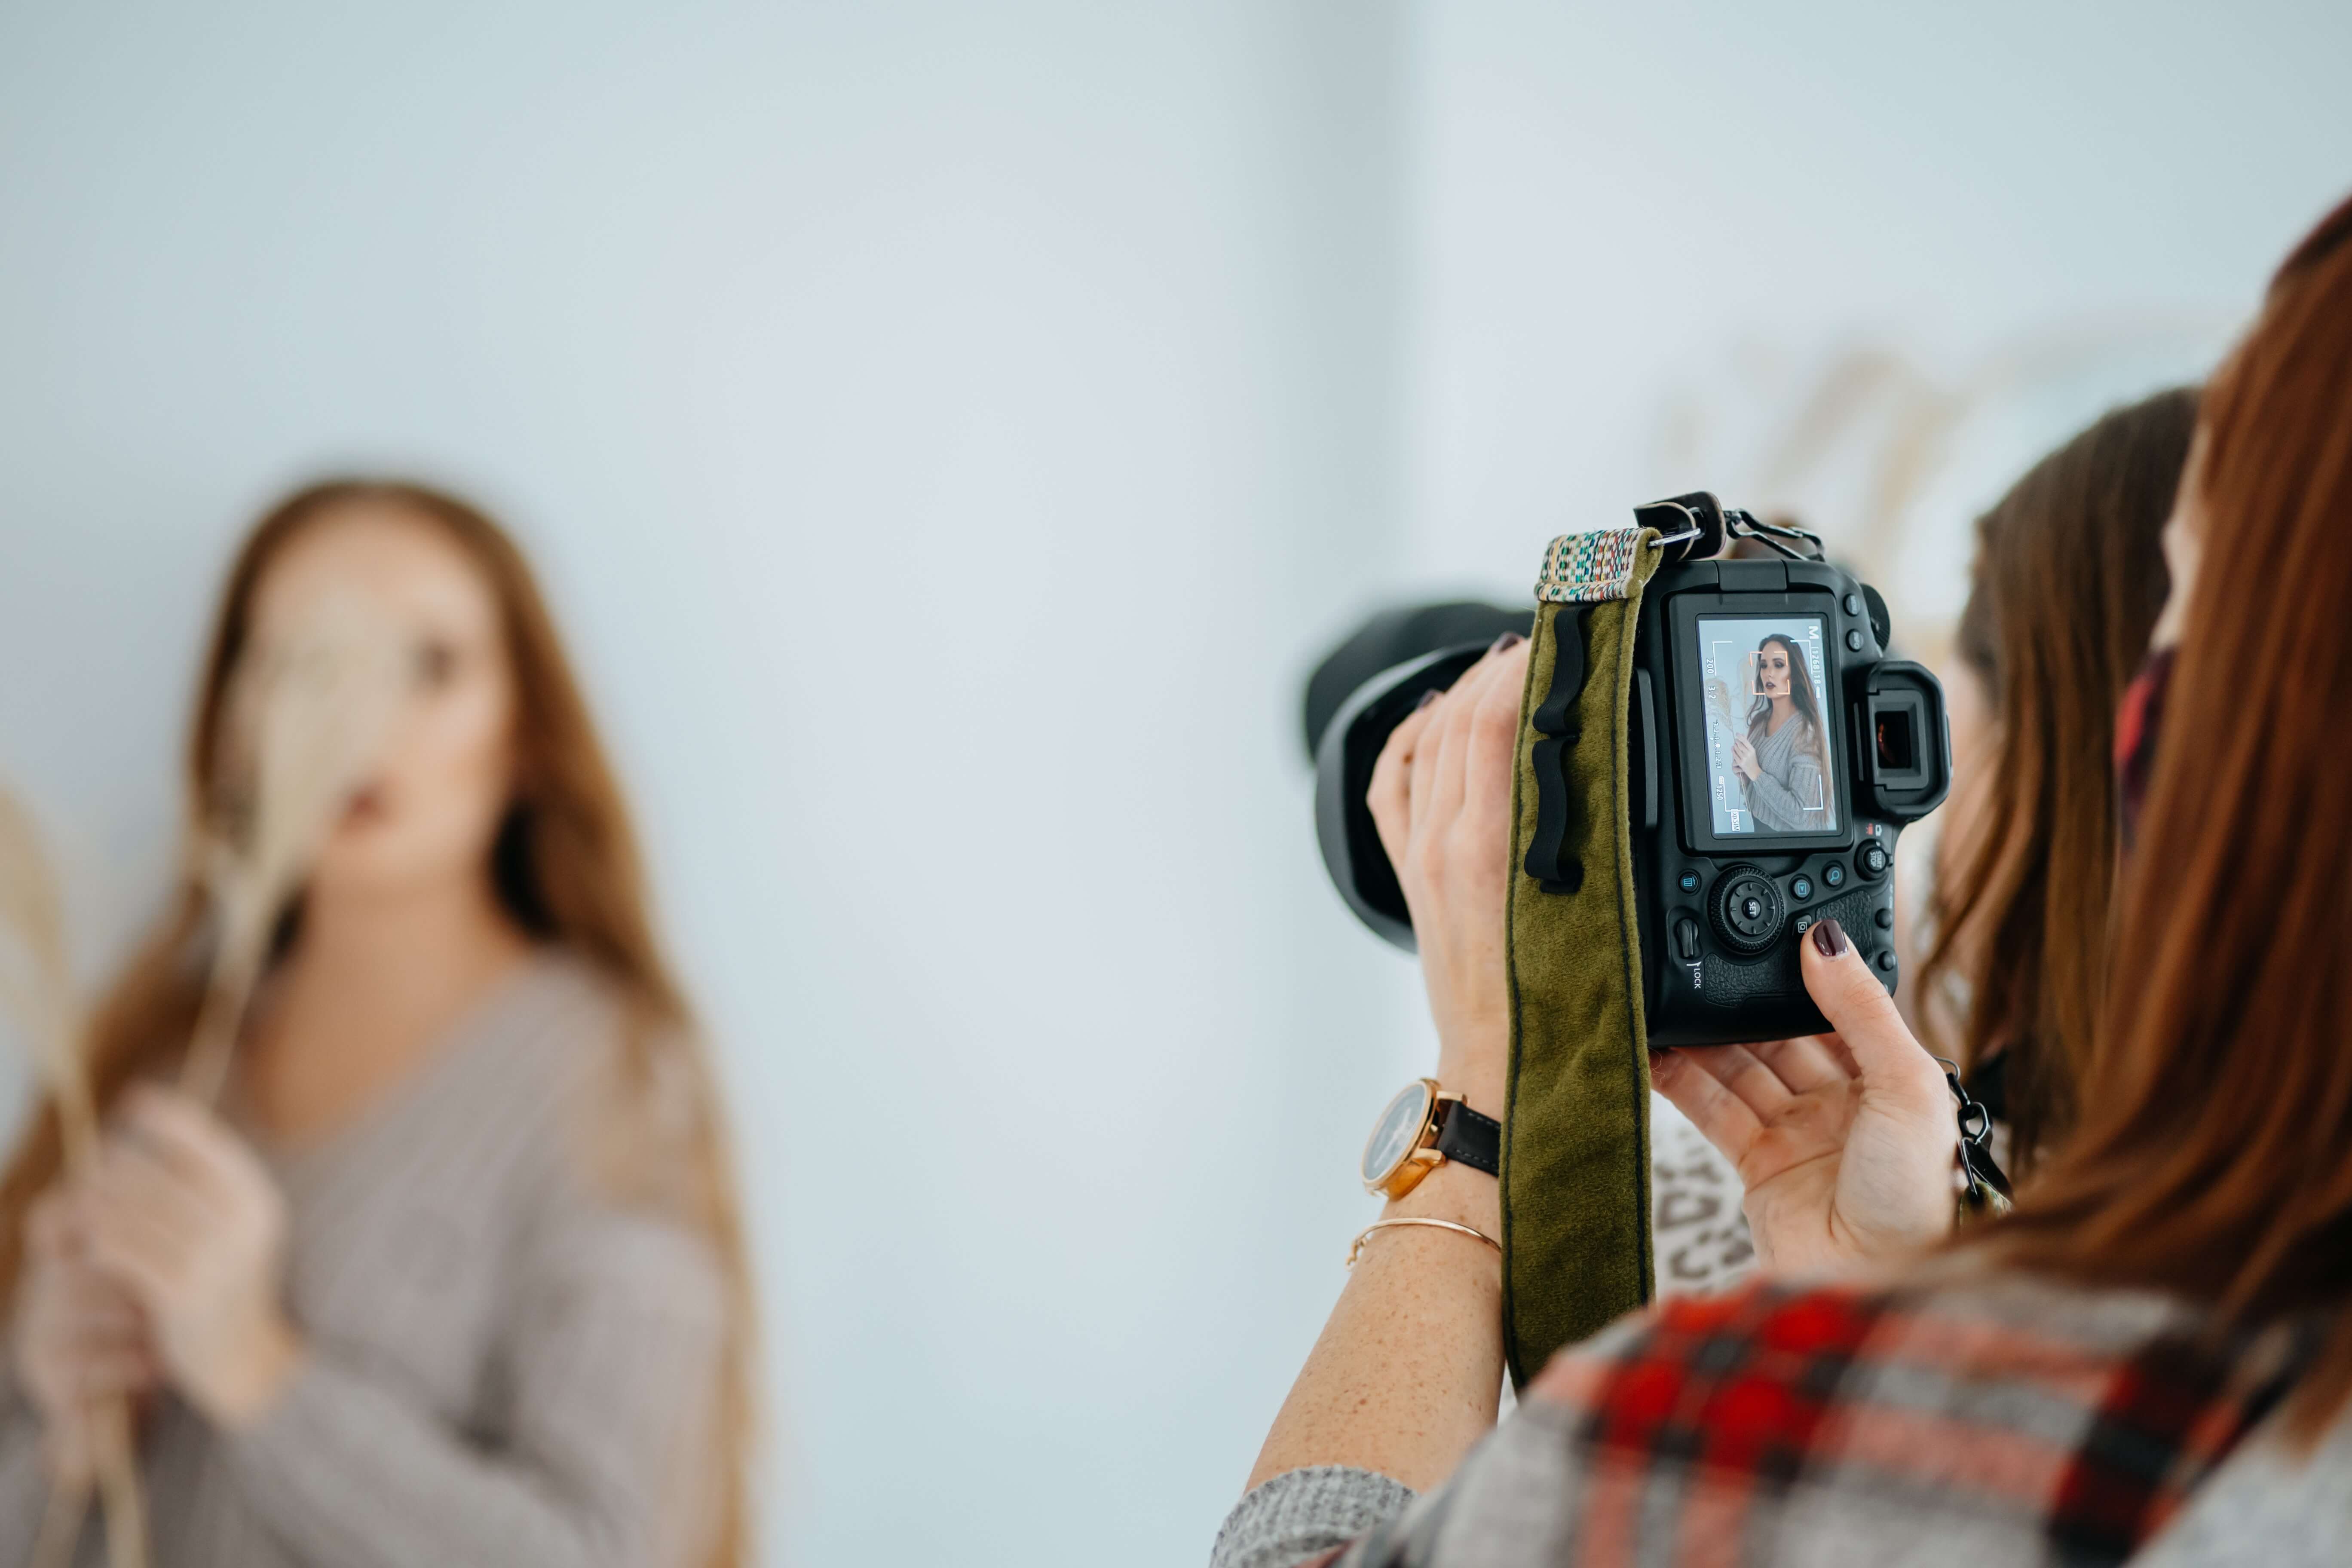
Observe the scene before taking pictures
When you arrive at the scene, don't start taking pictures right away. Look around you first. Take in the view, the scenery, the sounds, the smells, and get a feel for the place. You will be better able to find the best angles, or the small details that will make the difference.
Become the director of your photographic creations
Take control of your shots, and you'll find that your photos improve dramatically.
Don't just be a passive photographer!
An expert takes charge:
-
Choose the location: “Come on, everyone move to the garden.”
-
Suggest props: “Girls, put on your sunglasses”.
-
Direct your models: “Come closer, and look towards the camera.”
Anyway, you get the idea: manage your photo shoots like an expert!
So, we are okay 👌 let's get to the technical stuff….
Tips for taking beautiful photos for your website: technical details
If you're new to photography, you may be a little lost when it comes to your camera settings. Here is some basic knowledge…
Taking good pictures: from near or far?
In general, get close to your subject.
Telephoto lenses will allow you to shoot from a distance, but :the quality is not always good.
If you can, always prefer to get closer, rather than using your zoom.
Getting close often reveals interesting details: a mole, a nice arched eyebrow, or a pinch of freckles…
Warning
Be close, but not too close! If you get too close, your pictures may be blurred. The closest focusing distance for most cameras is
about three feet (1 m), or about one step.
Look them in the eye
Stand in front of your subject.
Be mobile: crouch down to take pictures of children or animals.
This is also true for adult subjects: if you bend down, you will get a better angle.
When photographing someone, place the camera in front of their faces: this will create beautiful moments. ✨
In fact, eye contact is just as important for a photo, as it is in real life.
.jpg)
First, think about the horizon line: it must be horizontal, and not crooked. Unless that's the effect you're looking for, of course.
But don't focus too much on the horizontal format.
Many subjects will look better in a vertical photo. Whether it's a lighthouse near a cliff, the Eiffel Tower, or your four-year-old niece jumping into a puddle.
So next time, horizontal or vertical, make the right choice!
Photography and motion: mastering sharpness
Watch out for motion blur. You can use a tripod to stabilize yourself (there are miniature and foldable tripods for phone cameras), or put your camera on an improvised stand. You should also adapt your shutter speed, depending on your subject: a child, an animal, or a sportsman will need a higher shutter speed.
Definition
The shutter speed is the length of time that a camera shutter remains open, that is to say, the duration of exposure to light. This influences the sharpness of the photo.
To photograph fast action, you should use a shutter speed greater than 1/500th of a second, if not 1/1000th to 1/2000th.
On the other hand, you may want to capture the long trails of light in your nighttime photos. To do this, you need to change the shutter speed of your camera to get a long exposure. This can be one second, ten seconds, or even longer.
.jpg)
Managing light to take beautiful pictures
Ah, the light… It is certainly the main concern of any photographer. Here are some basic tips to use it to your advantage.
Play with the light
After the subject, the most important element of a photo is undoubtedly the light.
It affects the appearance of everything you photograph.
💡 For example, you take a photo of your grandma: the fierce sunlight can accentuate the wrinkles. While the soft glow of a cloudy day can soften them.
The low-angled light at the beginning or end of the day gives a more diffuse and uniform light, easier to use in photography. This is called the golden hour.
Conversely, the middle of the day gives a very harsh light, often too bright: it's up to you to use the sun, depending on the effect you're looking for. ☀️
Deciding which ISO to use
Definition
ISO is the measure of light sensitivity of film, or digital sensors.
Which ISO to choose?
There are questions to ask yourself when deciding what ISO to use:
If you are shooting outdoors in the middle of the day, you will need to use a lower ISO, such as 100 or 200.
If you are shooting at night without a tripod, you will need to increase the ISO, so that you can record the light on the camera sensor
If your subject or scene is too dark, you will need to use a higher ISO value, such as 800 or 1600.
If you use a high shutter speed to capture fast motion, you may need to use a high ISO to compensate. Similarly, if you use a slow shutter speed to capture blur, you'll need to use a low ISO to restore the balance.
Keep in mind that by increasing your ISO, you increase the grain of your photo. So don't use an ISO of 3200 or 6400, if you don't want a photo with a lot of “digital noise”.
What about the flash to make beautiful photos?
Regarding the use of flash, the number one mistake is to take pictures beyond the range of the flash.
Why is this a mistake? Because the pictures taken in this context will be too dark.
Keep in mind that for many cameras, the maximum flash range is less than 15 feet (4.57 m), or about five steps away.
Avoid using direct flash for scenes that are not bright. Indeed, photos taken with flash in the dark have a much sharper contrast, which can give an exaggerated depth to the images…
Therefore, prefer an indirect flash, pointing your flash (if it is not built-in) at a white wall or ceiling.
And above all, make the most of the outside light (natural or artificial).
You can, for example, get closer to a light source (declining sun, candle, bedside lamp…), which allows you to restore a certain atmosphere, while having a clear picture.
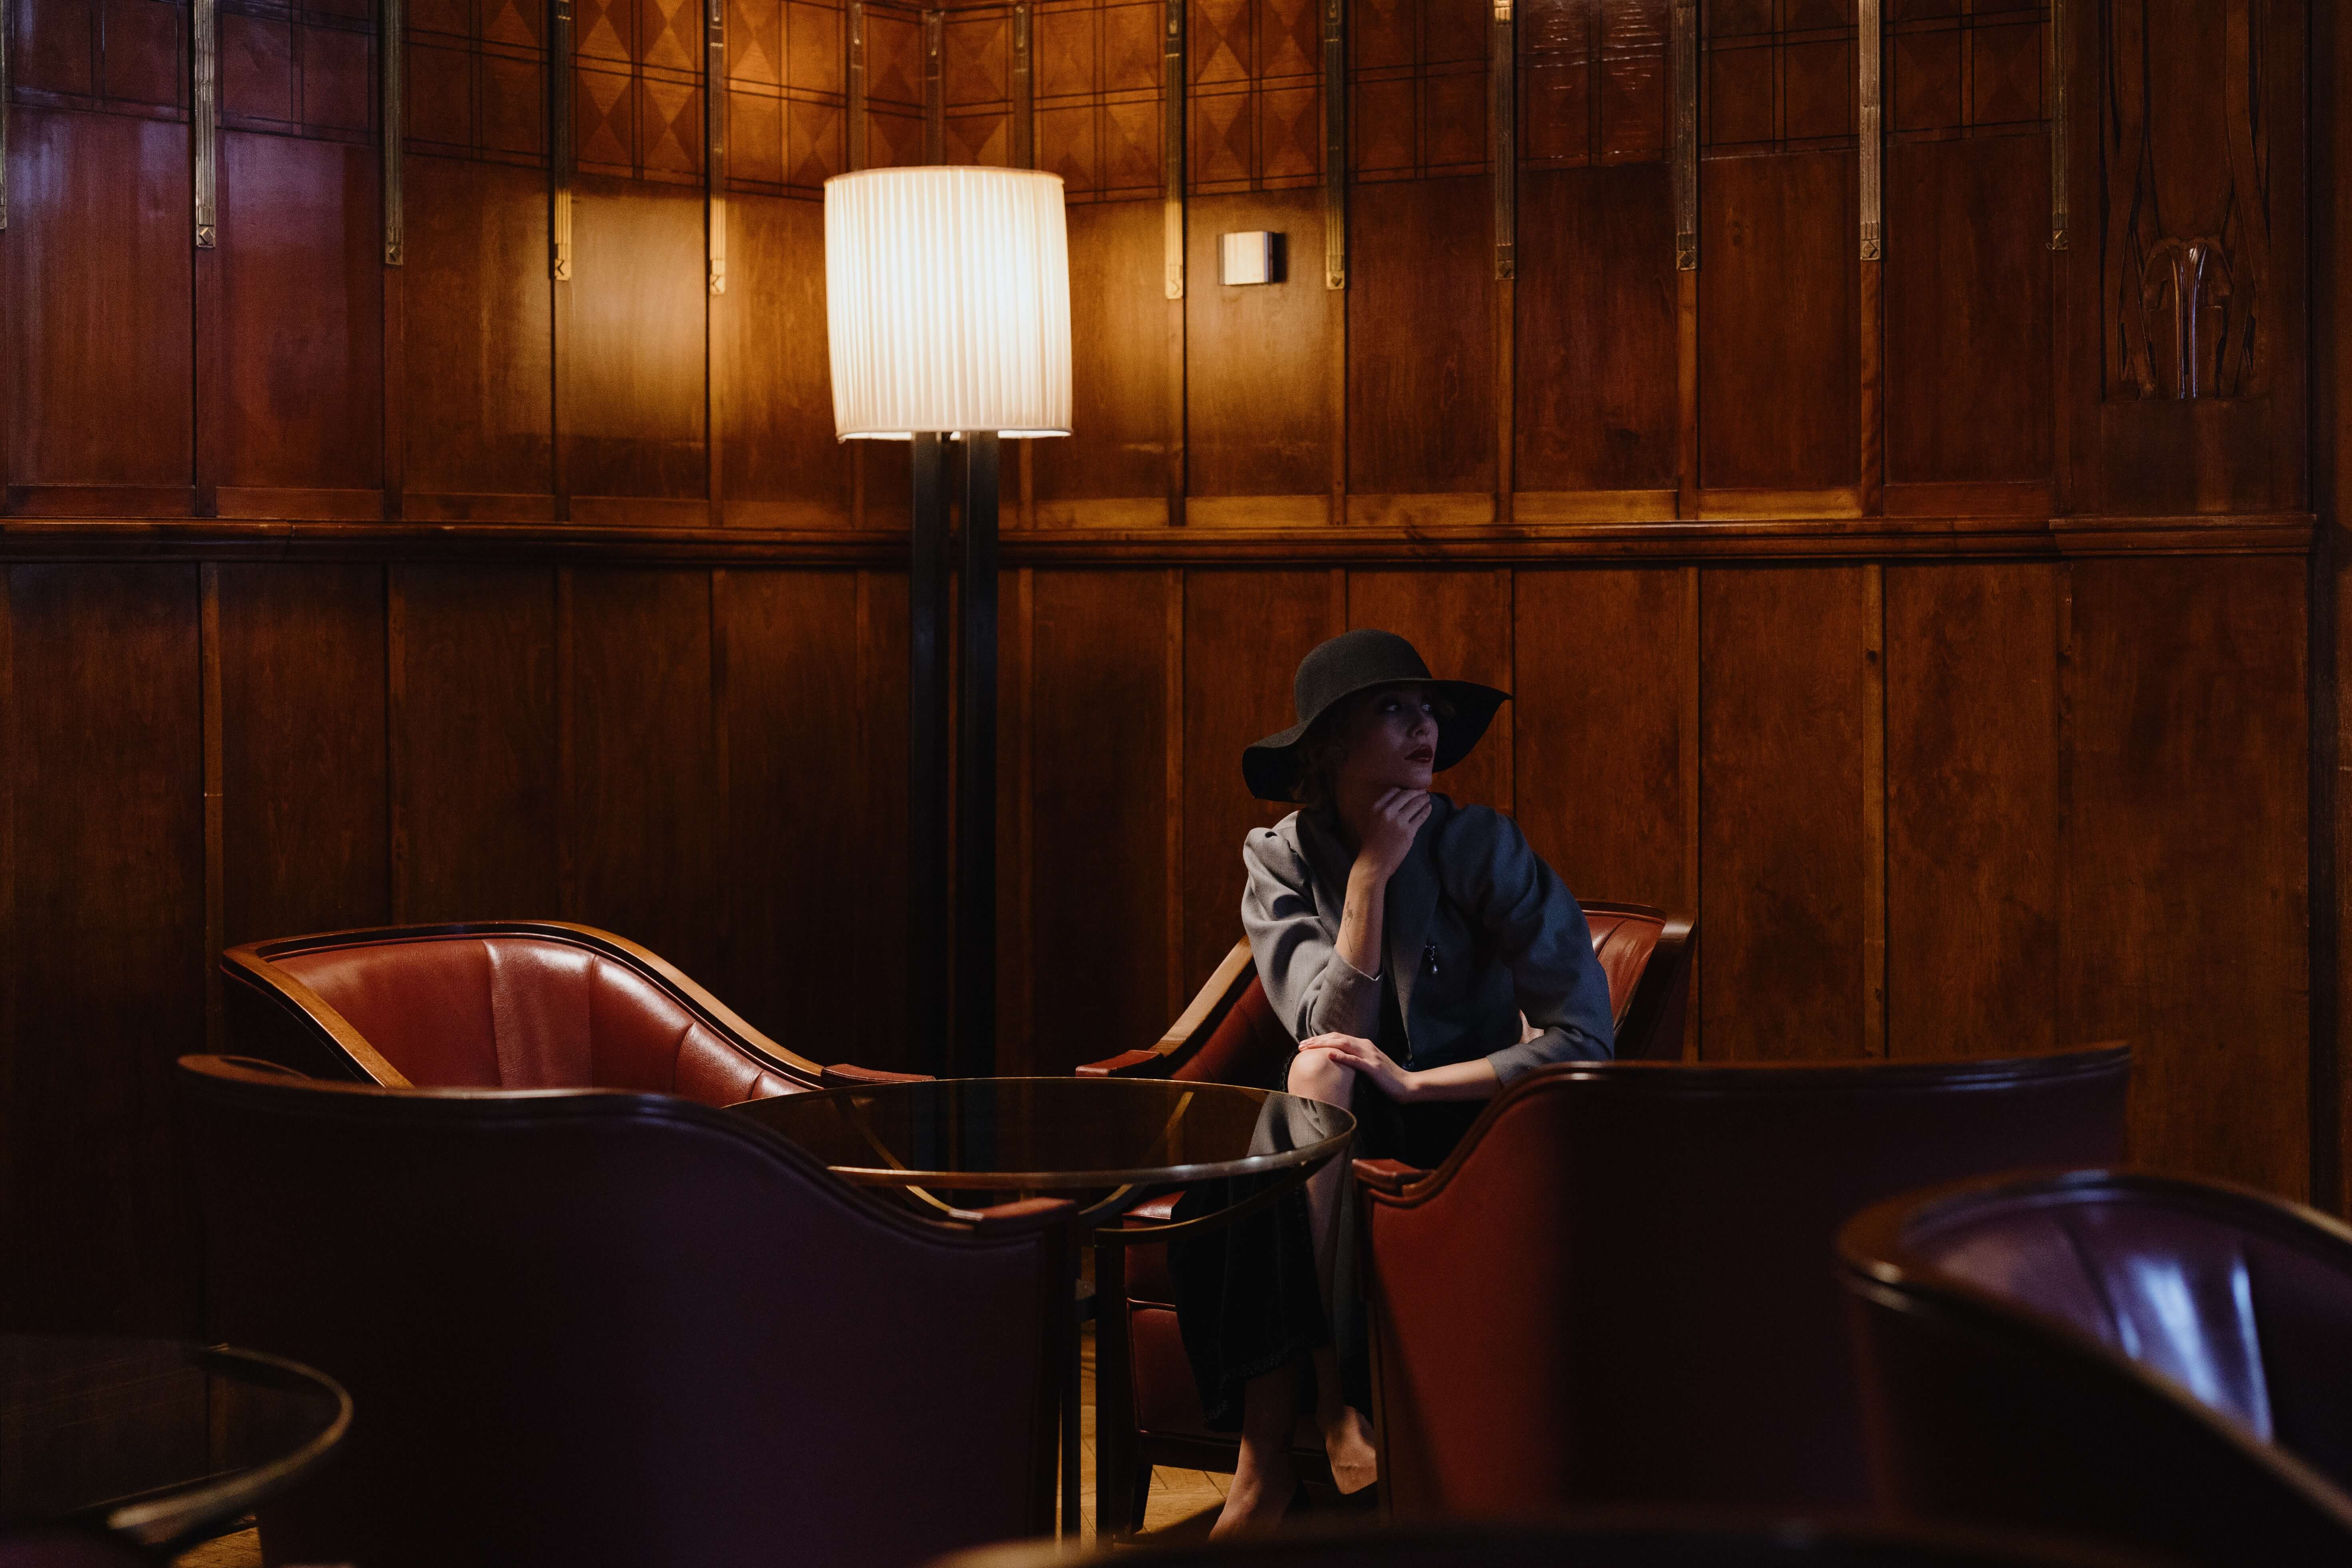
If you are short of light, you can always use the torch mode on a separate phone other than the one taking the photo, to get a more consistent light source.
To go further
Sometimes using your camera's flash can
enhance a daytime photo. In brightly lit spaces, it can help soften some deep shadows on the face, for example.
Look for contrast
All types of contrast are interesting in photography: the light contrasts, the contrasts of forms, the ruptures…
.jpg)
Use your phone's HDR mode
HDR (High Dynamic Range) mode is a feature in the camera app that balances the light and dark elements of a high-contrast photo.
It can be used to give photos a more creative and unique flavour, but is generally used to produce an image, which is as close as possible to what the eye sees.
Now that you are comfortable with the technical aspects, let's look at the most interesting part: the artistic dimension of photography!
How to make good photos for your blog: everything about composition
Composing a photo means deciding on your subject and where it will be placed in your image.
Pay attention to the background of your photos
Be careful with the background of your photos, which can be cluttered or unattractive.
A plain background enhances the subject you are photographing. When you look through the viewfinder of your camera, force yourself to study the surroundings of your subject.
Because if you're not careful, you can sometimes end up with some funny results, to say the least. 👇

Photographic composition
👉 Follow the “rule of thirds”
The “rule of thirds” is a principle of photographic composition, specifying that an image should be divided into three, both horizontally and vertically, so that there are nine parts in total.
To achieve a balanced composition, your subject should ideally fill up two of the three grid lines.
👉 Activate the grid on your phone camera
One of the easiest and most effective ways to improve your phone's photo quality is to activate the camera's grid. This overlays a series of lines on the screen:
-
On iOS, go to Settings, and select Camera. From there, turn on “Grid.”
-
On Android devices, go to Settings > Apps > Camera, and choose “Grid Lines.”
👉 Use guidelines
In some photos, a line draws the eye to a specific area of the composition. These are called guiding lines.
They can be straight or curvilinear—stairs, building facades, railroad tracks, roads, or even a path in the woods.
In this way, you can guide your viewer's eye to the highlights of your image.
.jpg)
👉 Offset your subject
A subject that is too centred can be trite and boring.
If you offset your model, the result will be more dynamic and attention-grabbing.
Spin around the subject, move around, and try to find the best angle: be creative and original.
Leverage graphics to create great photos
👉 Embrace negative space
“Negative space” simply refers to the areas around and between the subjects in an image.
Knowing how to manage this space can take a photo from “good” to “great”.
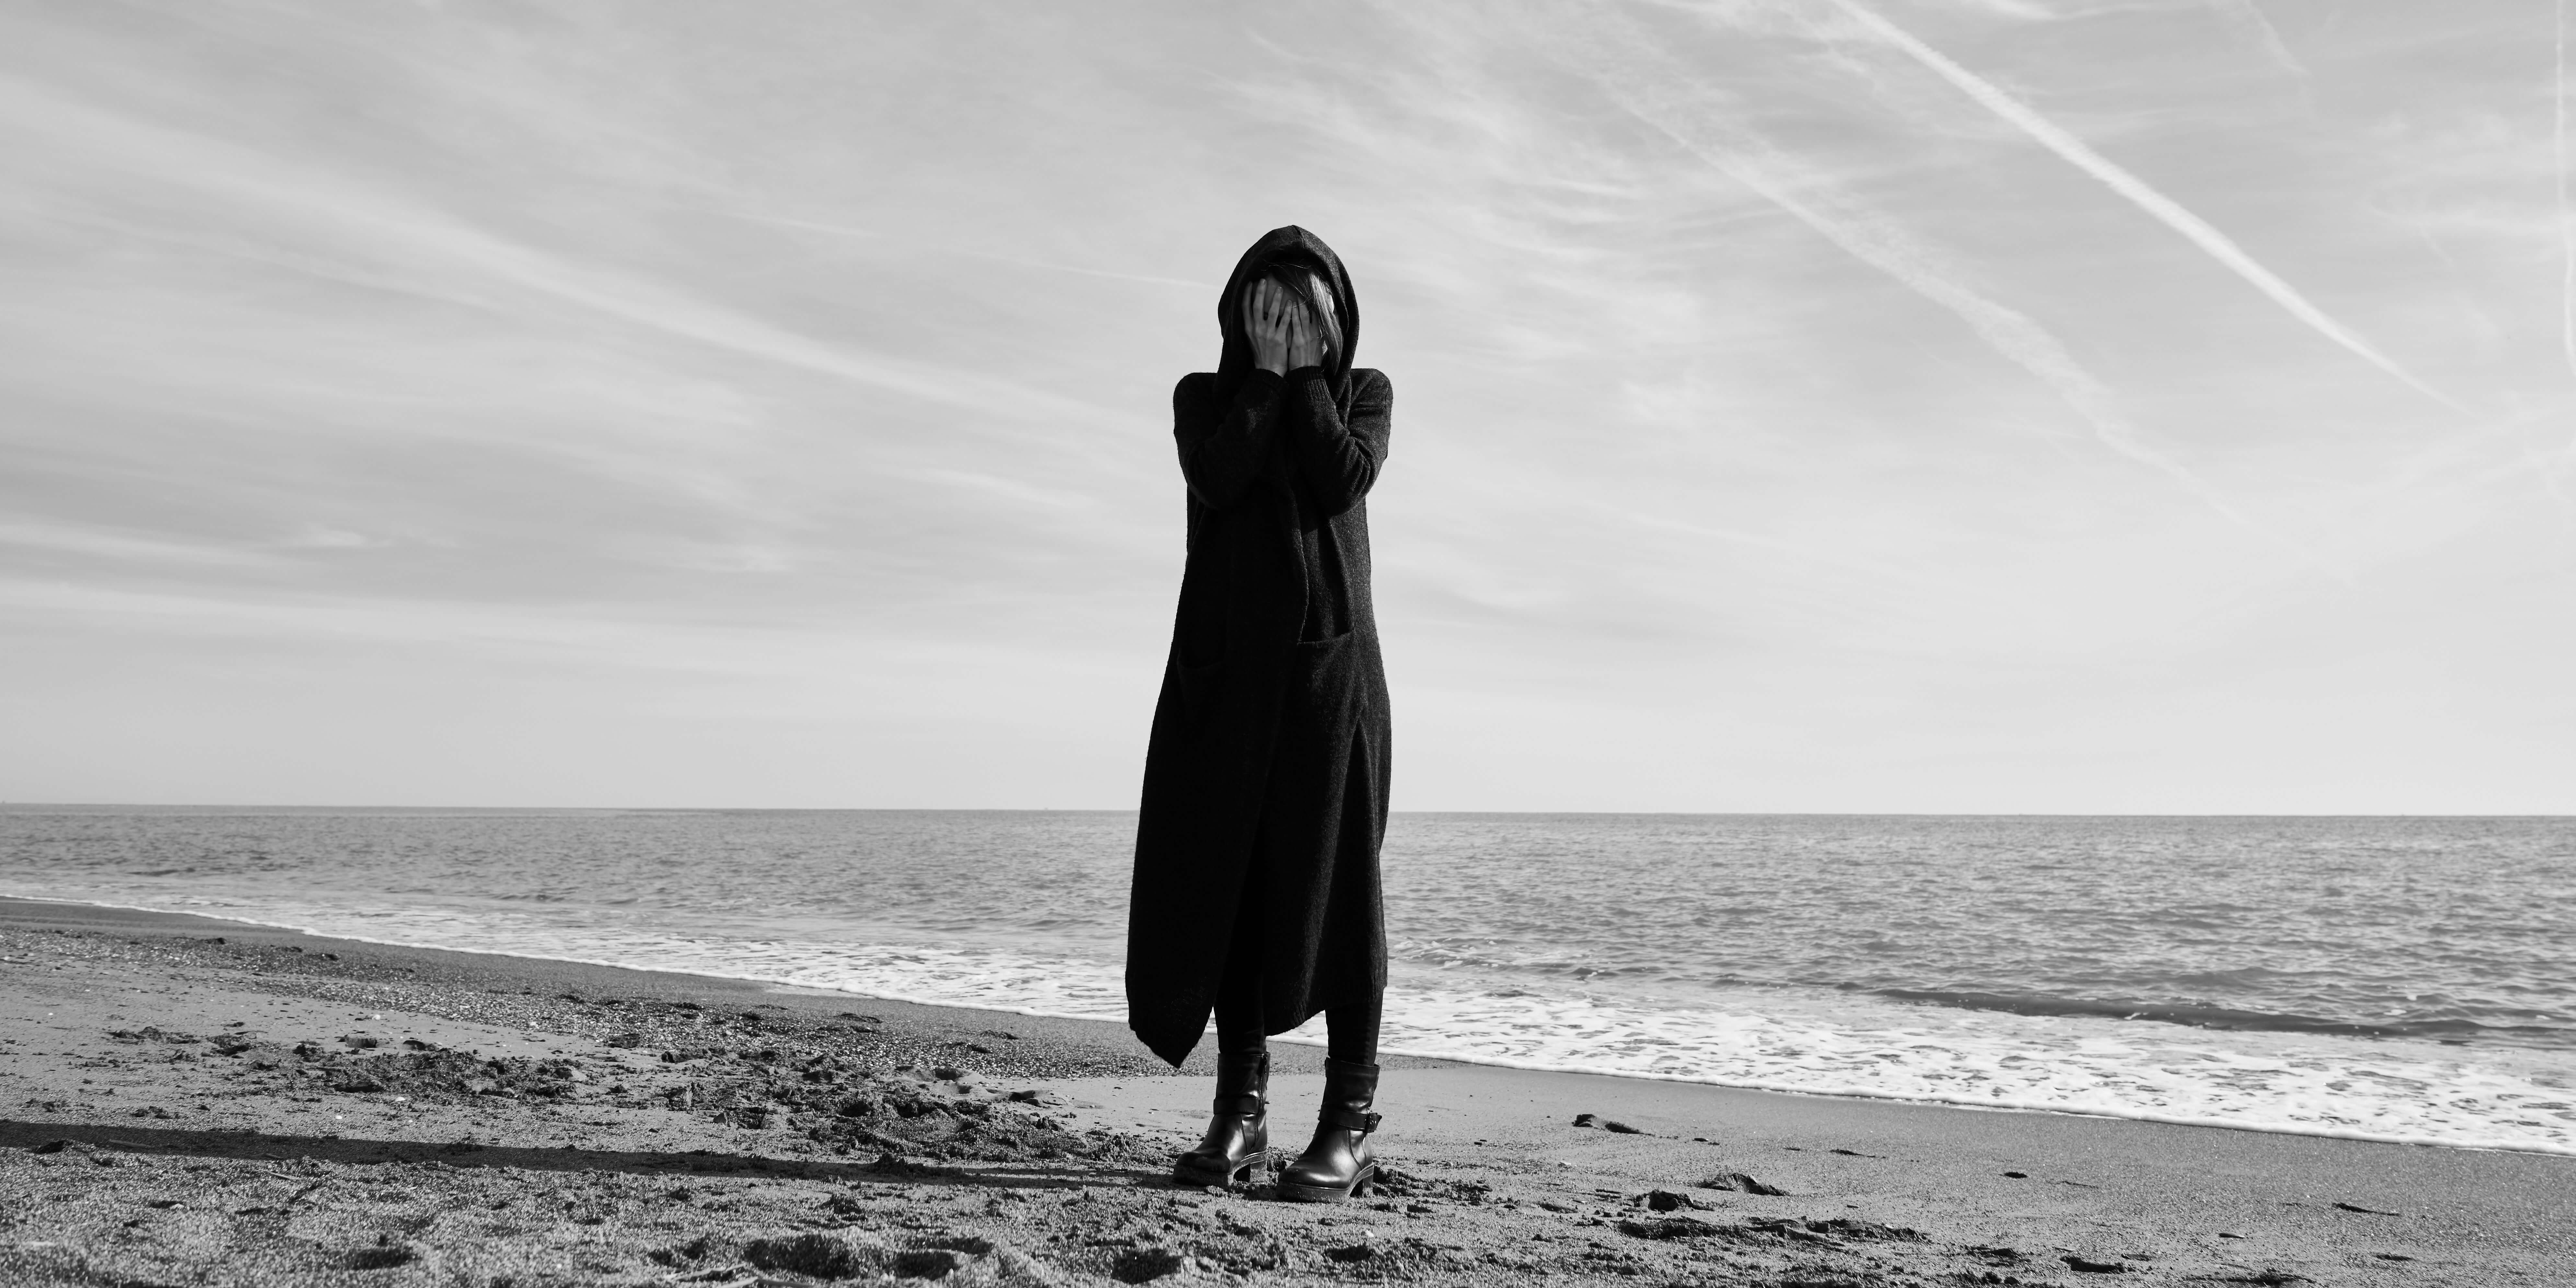
To go further
What does negative space look like? It is often a large expanse of open sky, an empty field, a large wall, or water…
If you include a lot of empty space, your subject will stand out more, and elicit a stronger reaction from your viewer.
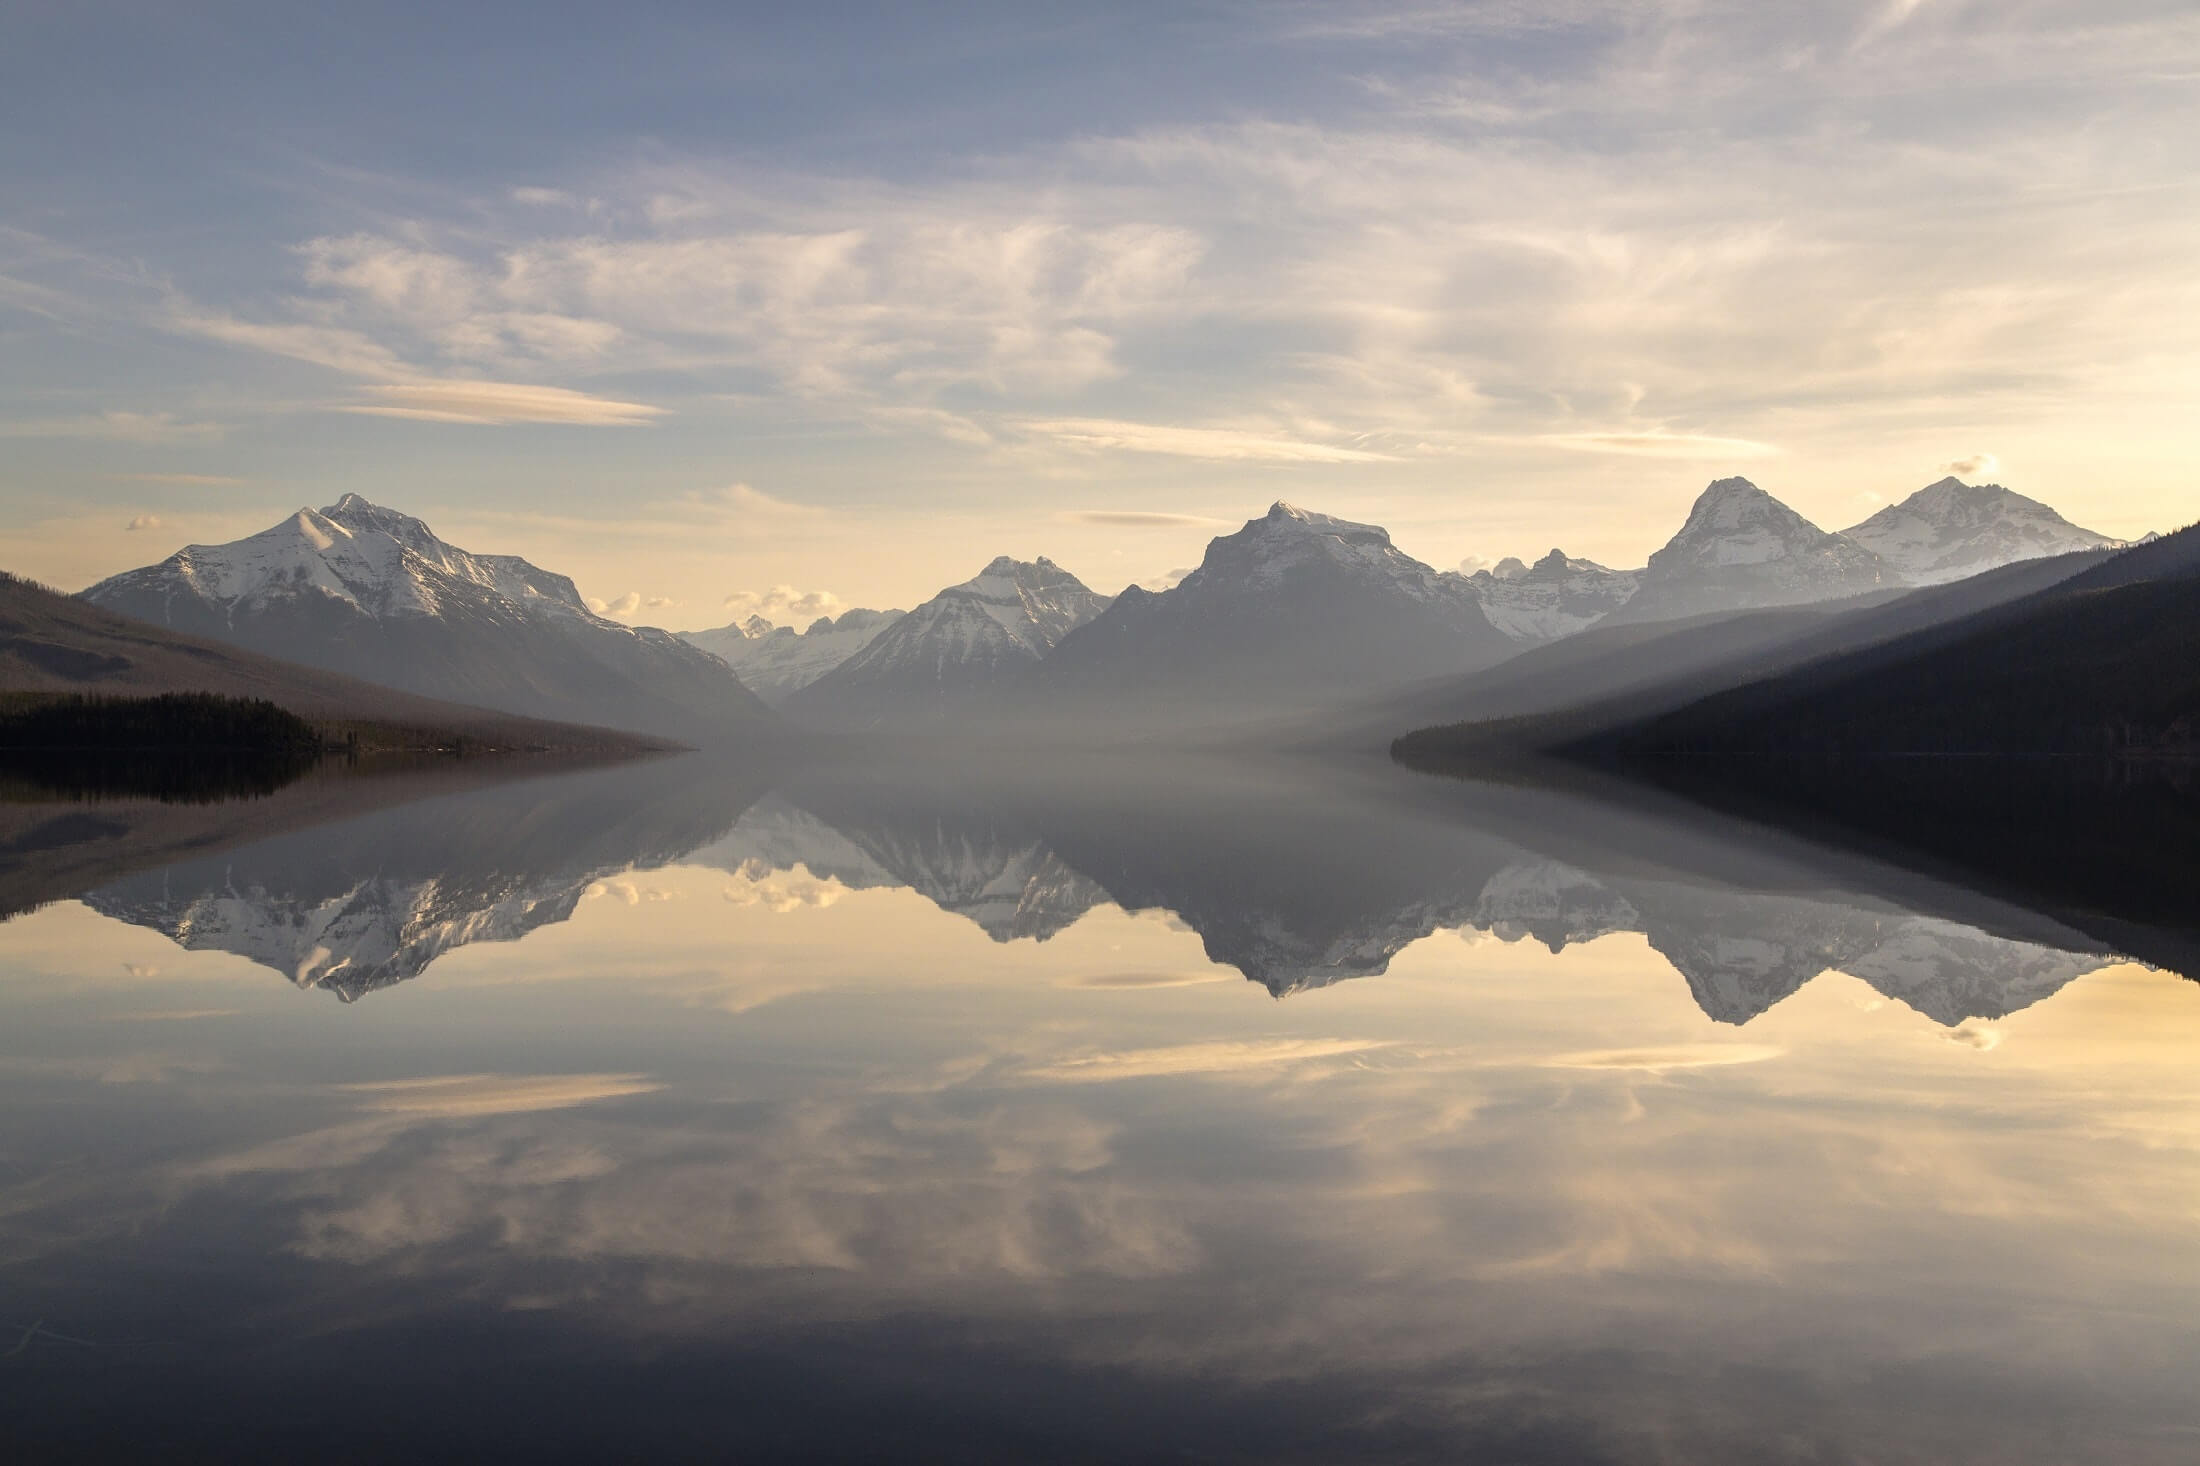
👉 Look for symmetry
Symmetry can be defined as “a vague sense of proportion and balance, harmonious and aesthetic.”
Because of this, images that contain symmetry can be incredibly pleasing to the eye—it's also one of the simplest and most effective ways to compose a photo.
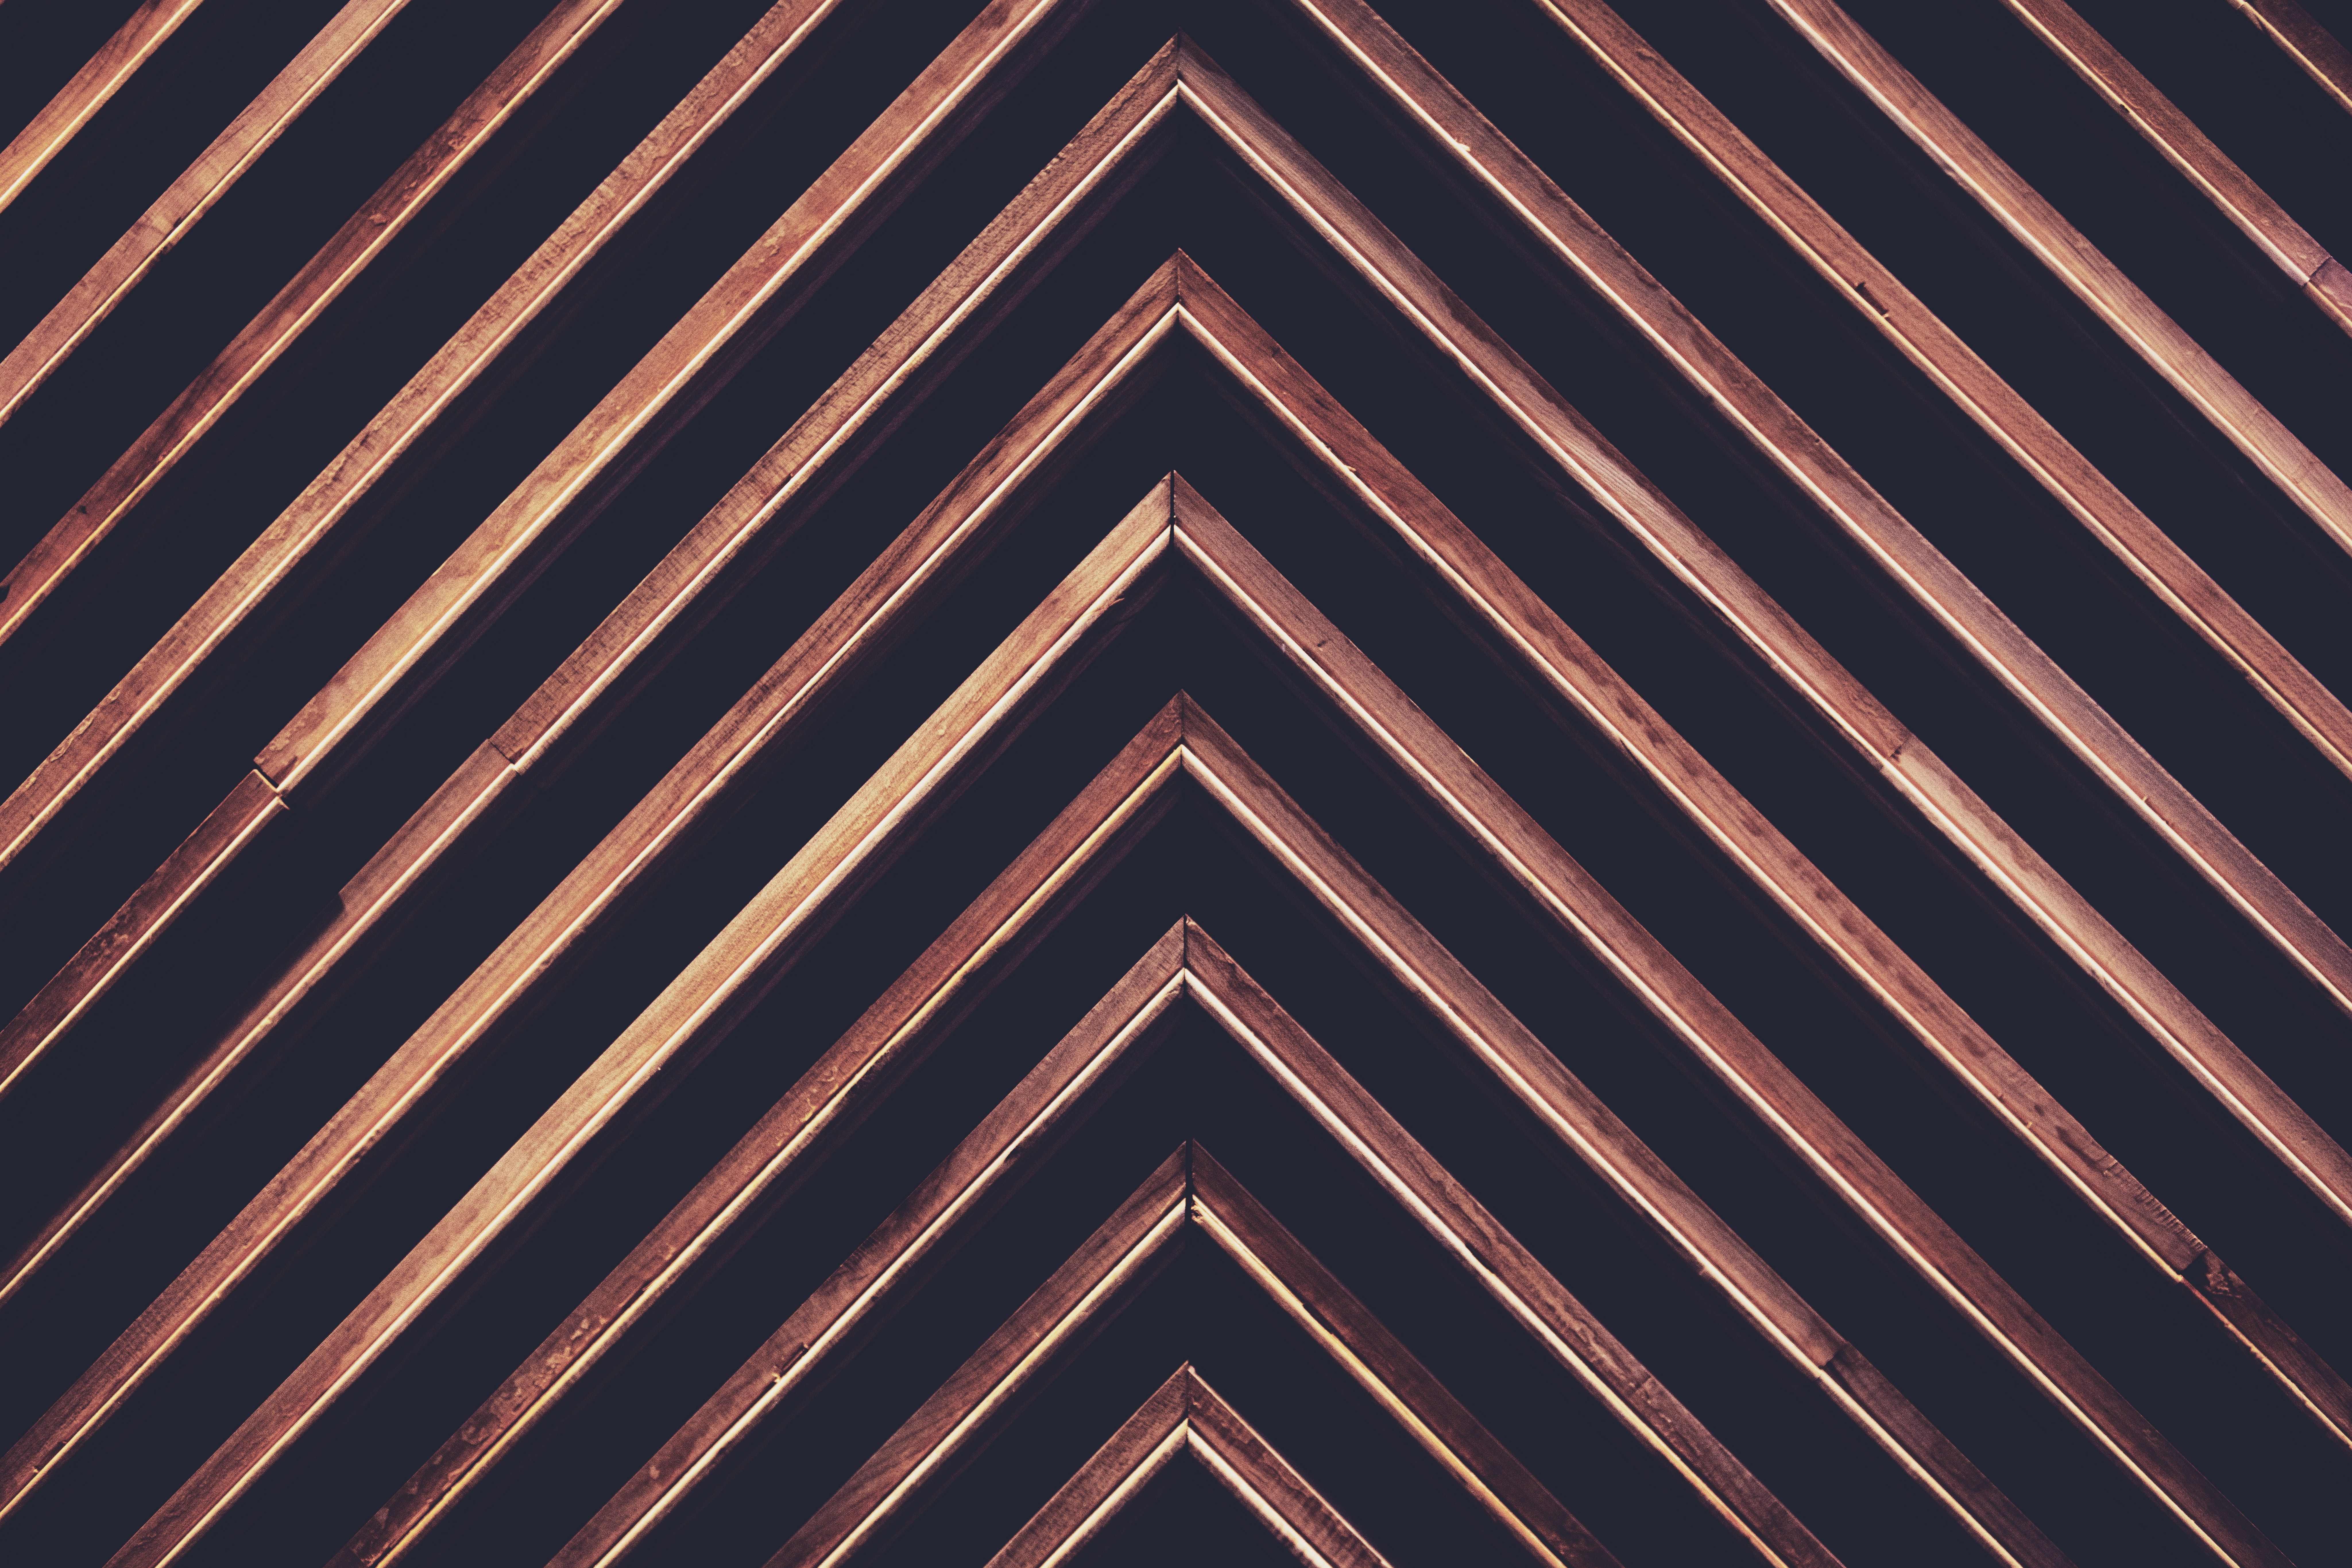
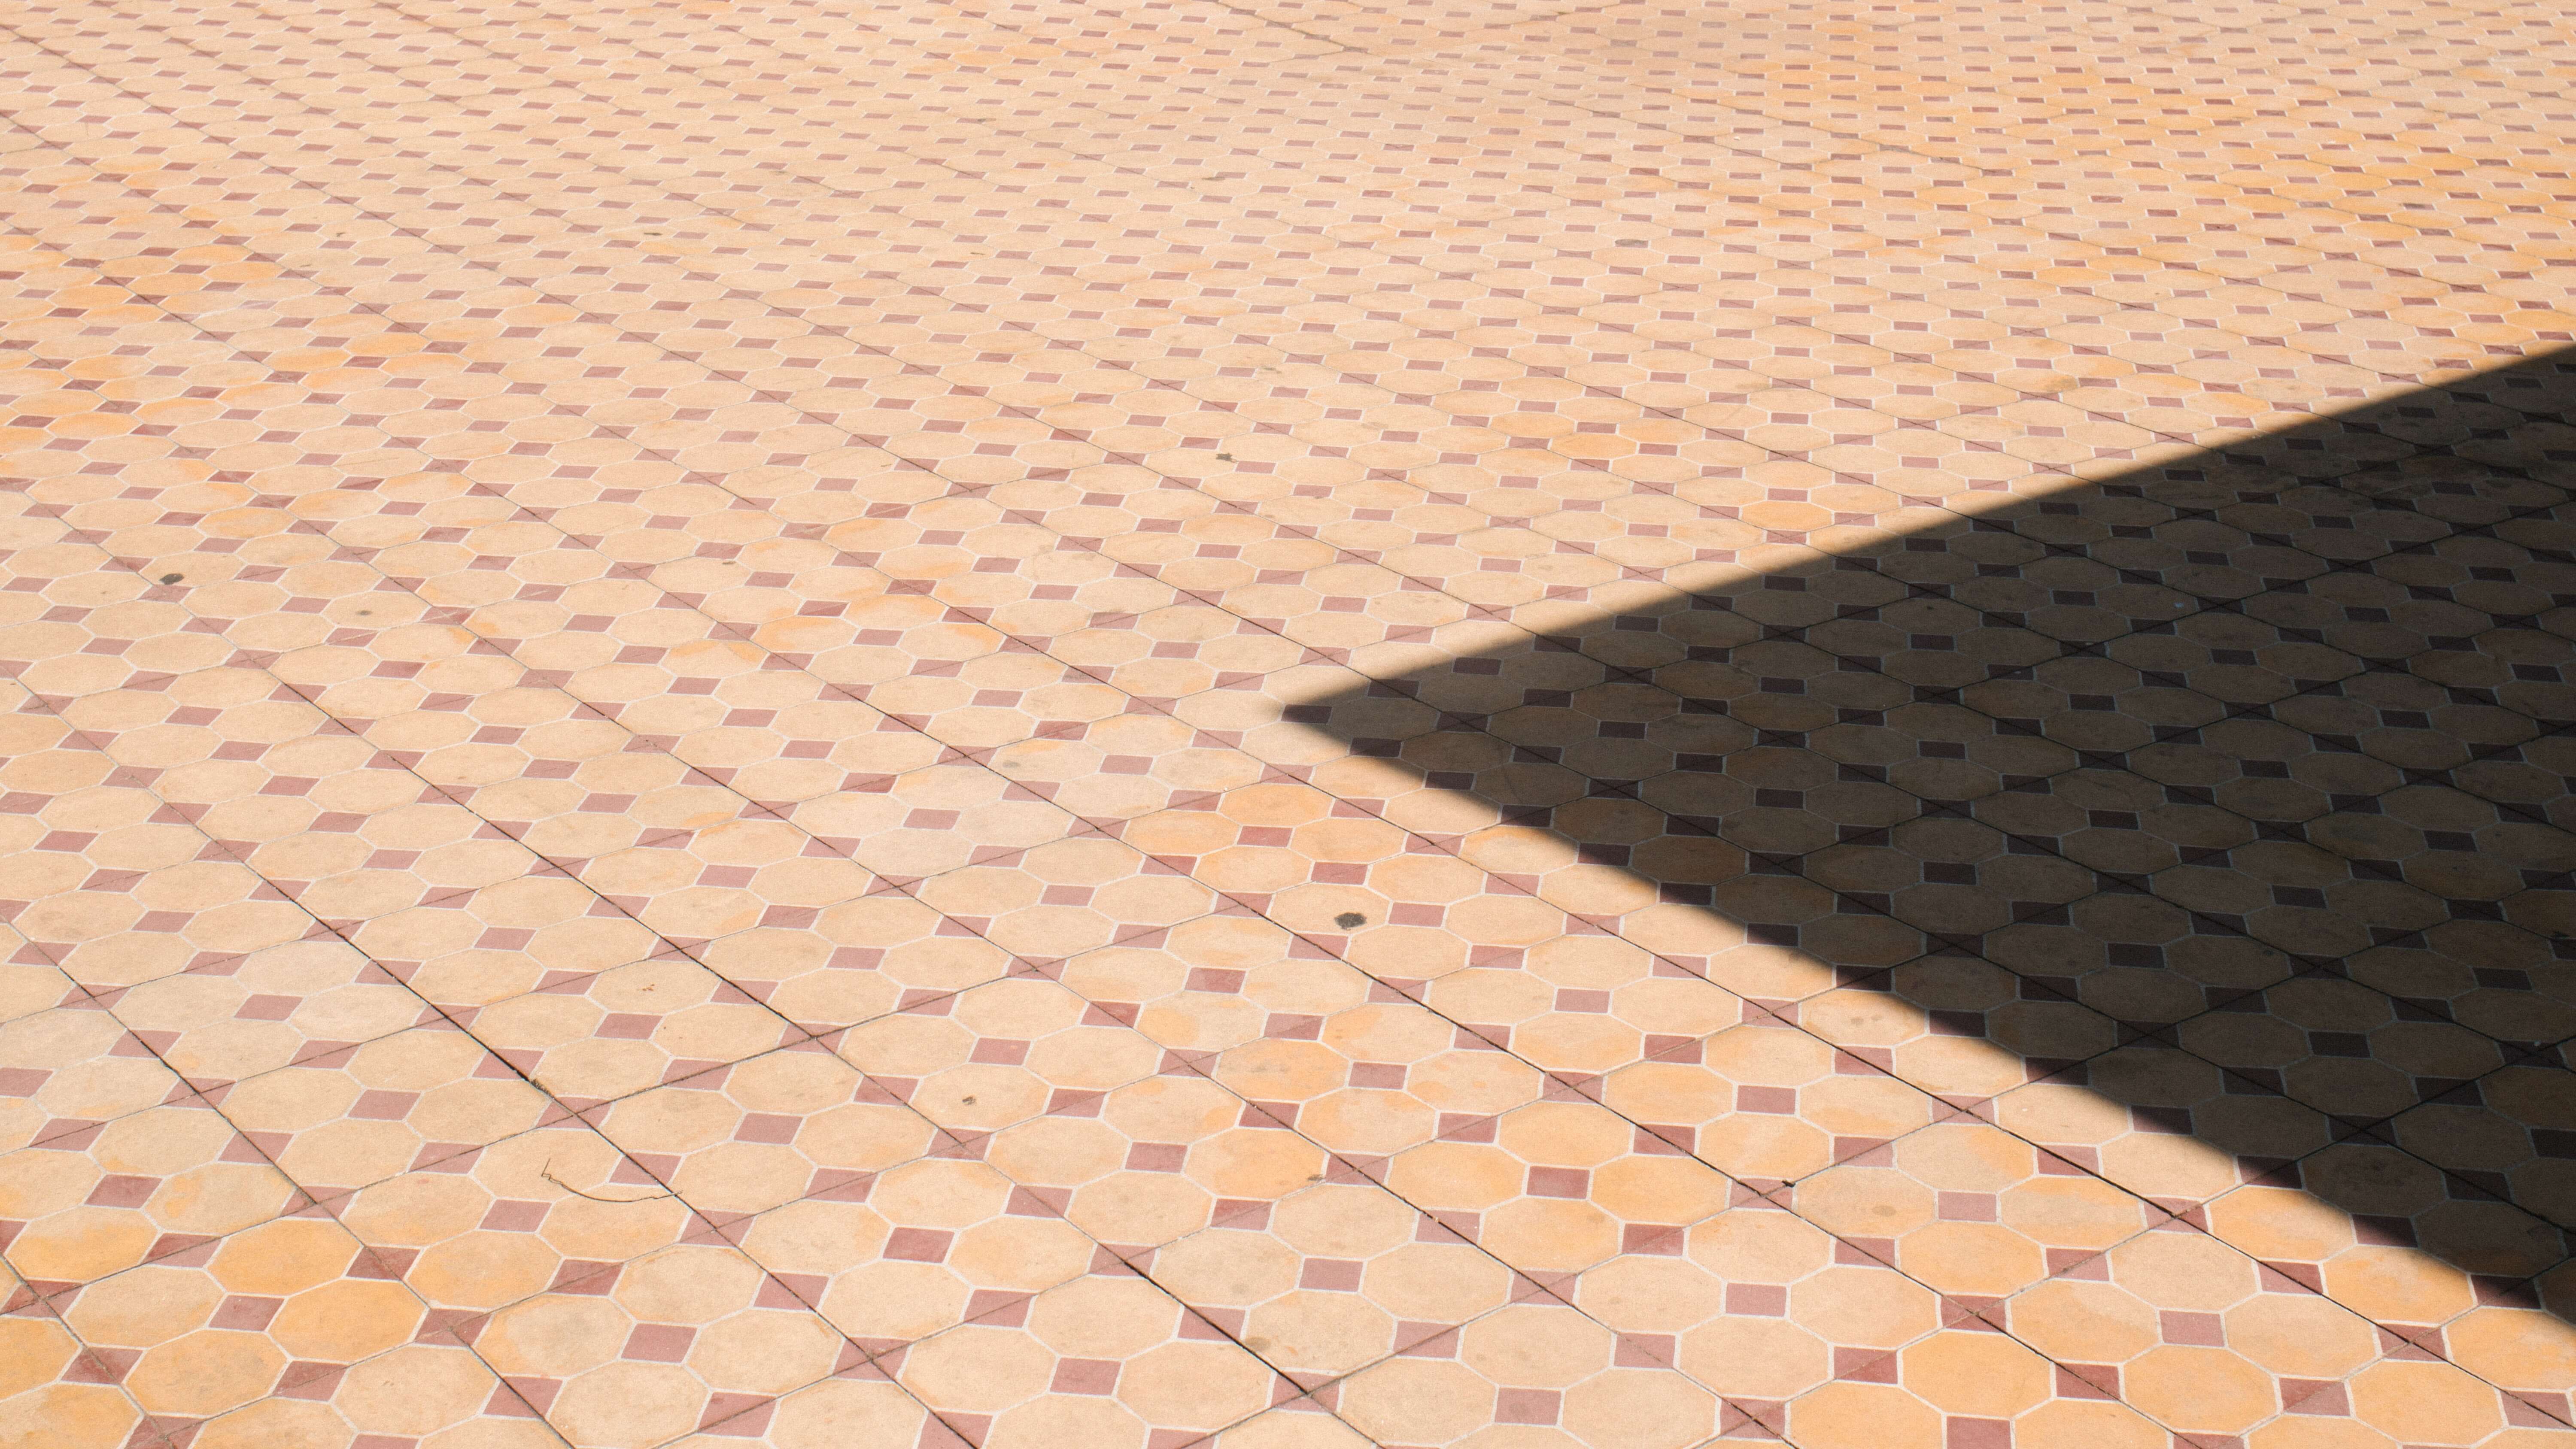
👉 Repeating patterns
Repeating patterns entertain the eye—they appear when strong graphic elements, such as lines, shapes, or colours, are repeated over and over.
These patterns can have a strong visual impact, and photographing something, like a beautiful tiled floor, can be enough to create a striking image.
👉 Play with the reflections
There is truly something magical about seeing the sky reflected in a body of water. 💫
The reason we all love to see this? The reflections mesmerize our eyes.
It's up to you to find opportunities to play with them in your photos!
There are many original places where you can see reflections: puddles, lakes and ponds, mirrors, sunglasses, glasses, metal surfaces…
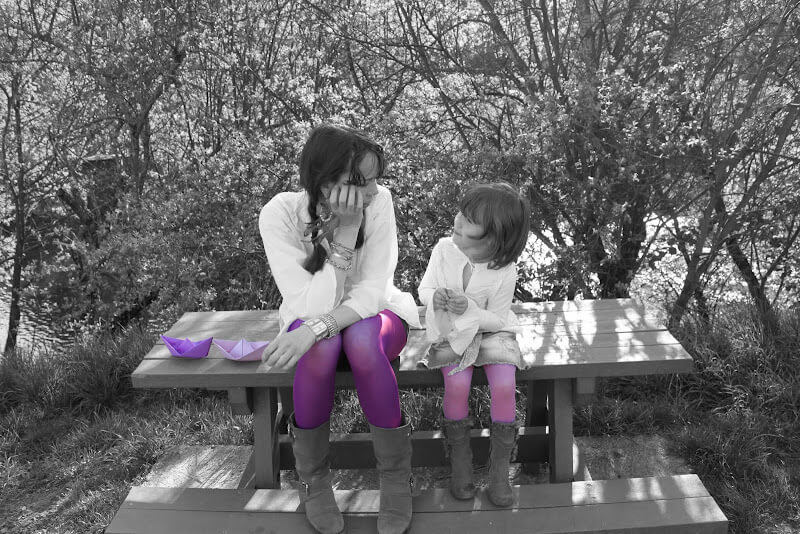
👉 Use colour blocks
Have you ever seen a photo that is entirely black and white, except for one colour? What do you think of this effect? Top-notch, right?
It just so happens that there are applications for that. For example, Touch Color, that converts a photo into black and white, and allows you to fill in the parts you want to colourize.
This process gives you the possibility to highlight the elements of a photo, that you want to emphasize.
Foreground, background
👉 Plan your depth of field
Try to give depth to your photos, by exploiting the foreground and the background, with a well-chosen focus, and by using blur.
.jpg)
How far away is your subject? Is it clear and sharp enough? All these questions are related to what we call: depth of field.
Now it's your turn
Today's phone cameras focus on the foreground of your frame.
To adjust the focus of the lens, open the Camera application, and tap the screen where you want the focus to be. A square or circular icon should then appear, moving the focus of the image.
👉 Find different perspectives
Taking photos from a unique and unexpected angle can make them more memorable—it tends to create an illusion of depth or height.
Try, for example, to take a photo upward, and play with the sky as negative space. Or, you can try a shot, with a slight downward angle.
How to take great pictures for your website? The post-production process
You've prepared well, you've set up your camera, you've taken the best shots... And now you have some really cool photos. 👍
Well, you should know that it's possible to make them even nicer.
With a few easy manipulations, you can create some stunning images!
By editing your photos.
After your shoot, take the time to edit your favourite photos. It's often this step that makes them incredibly great!
Check out our guide to the best online editing services to help you.
The gadget that changes everything
Use an external lens! Want to get really fancy? External lenses are for you. There are several that can be attached to the lens of your camera (SLR or smartphone). It can be a coloured lens, a wide angle lens or a fisheye lens, these can bring a new perspective to your photos.
Don't forget that you can use the image editing tools, in our editor:
-
You will be able to add a filter to your images in one click, on the editing page of your site (Black and White, Blur, Invert, Contrast, Color or Gradient).
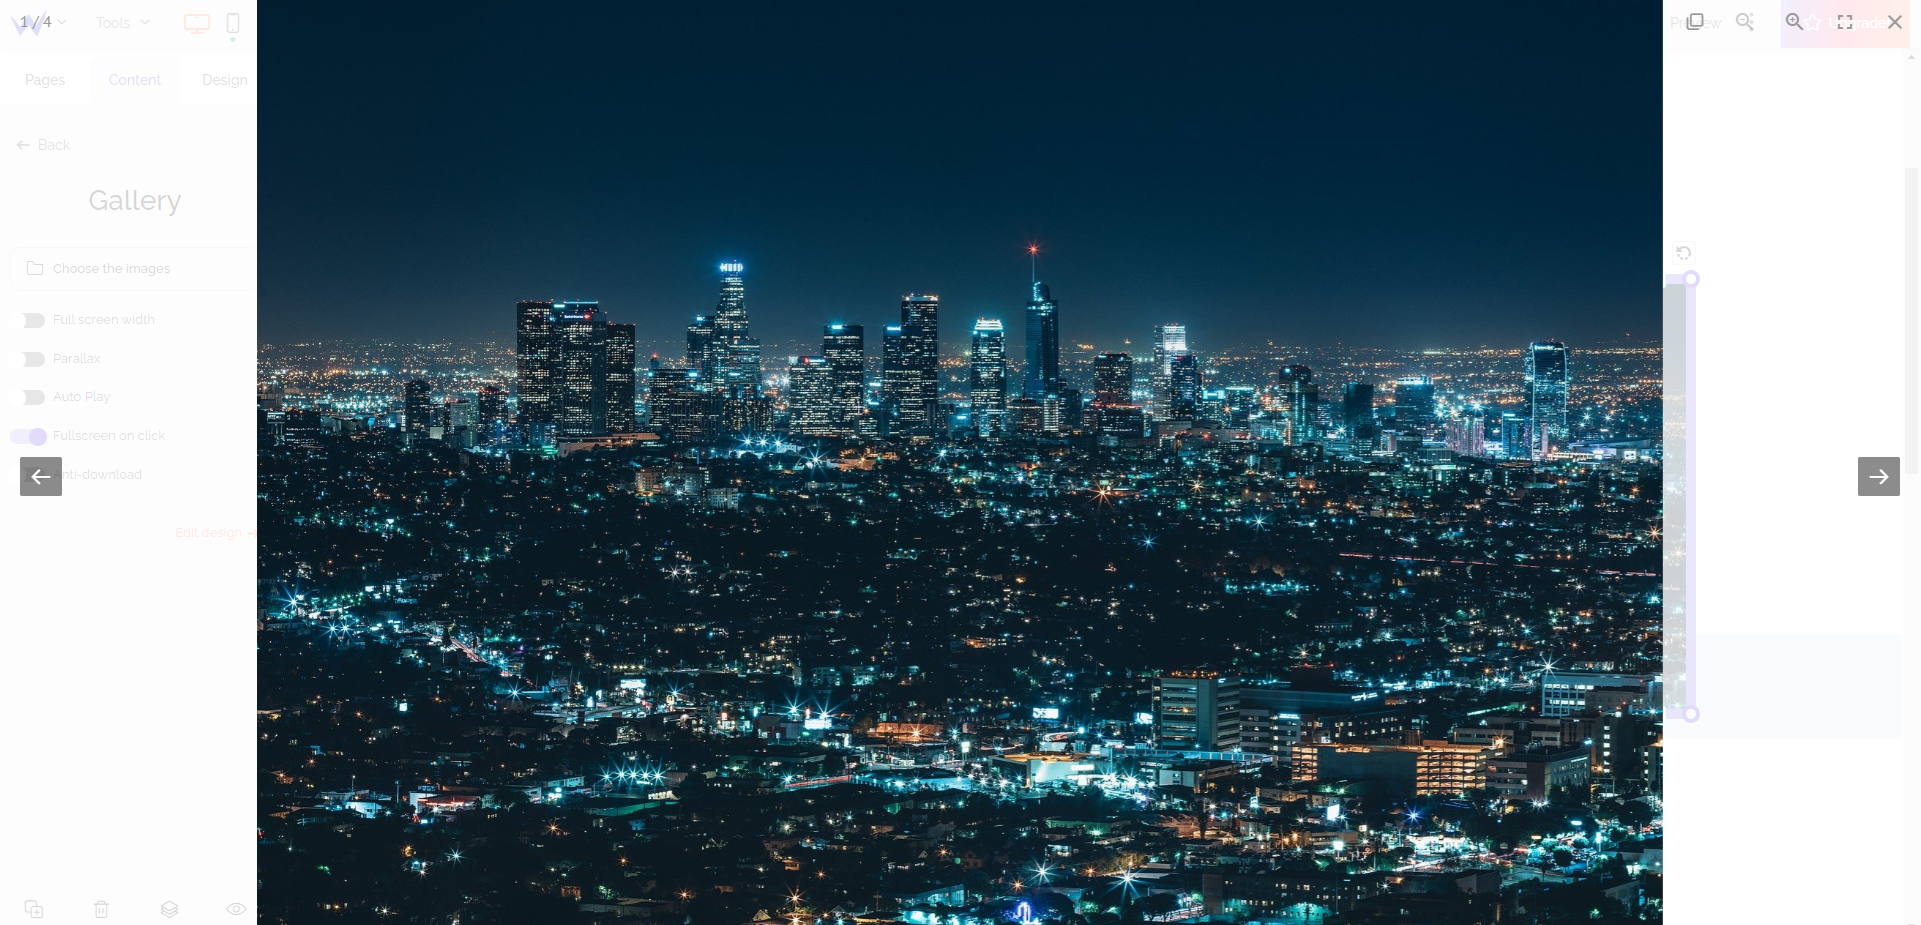
And apply options to them, such as a parallax effect, full screen on click or display on full width.
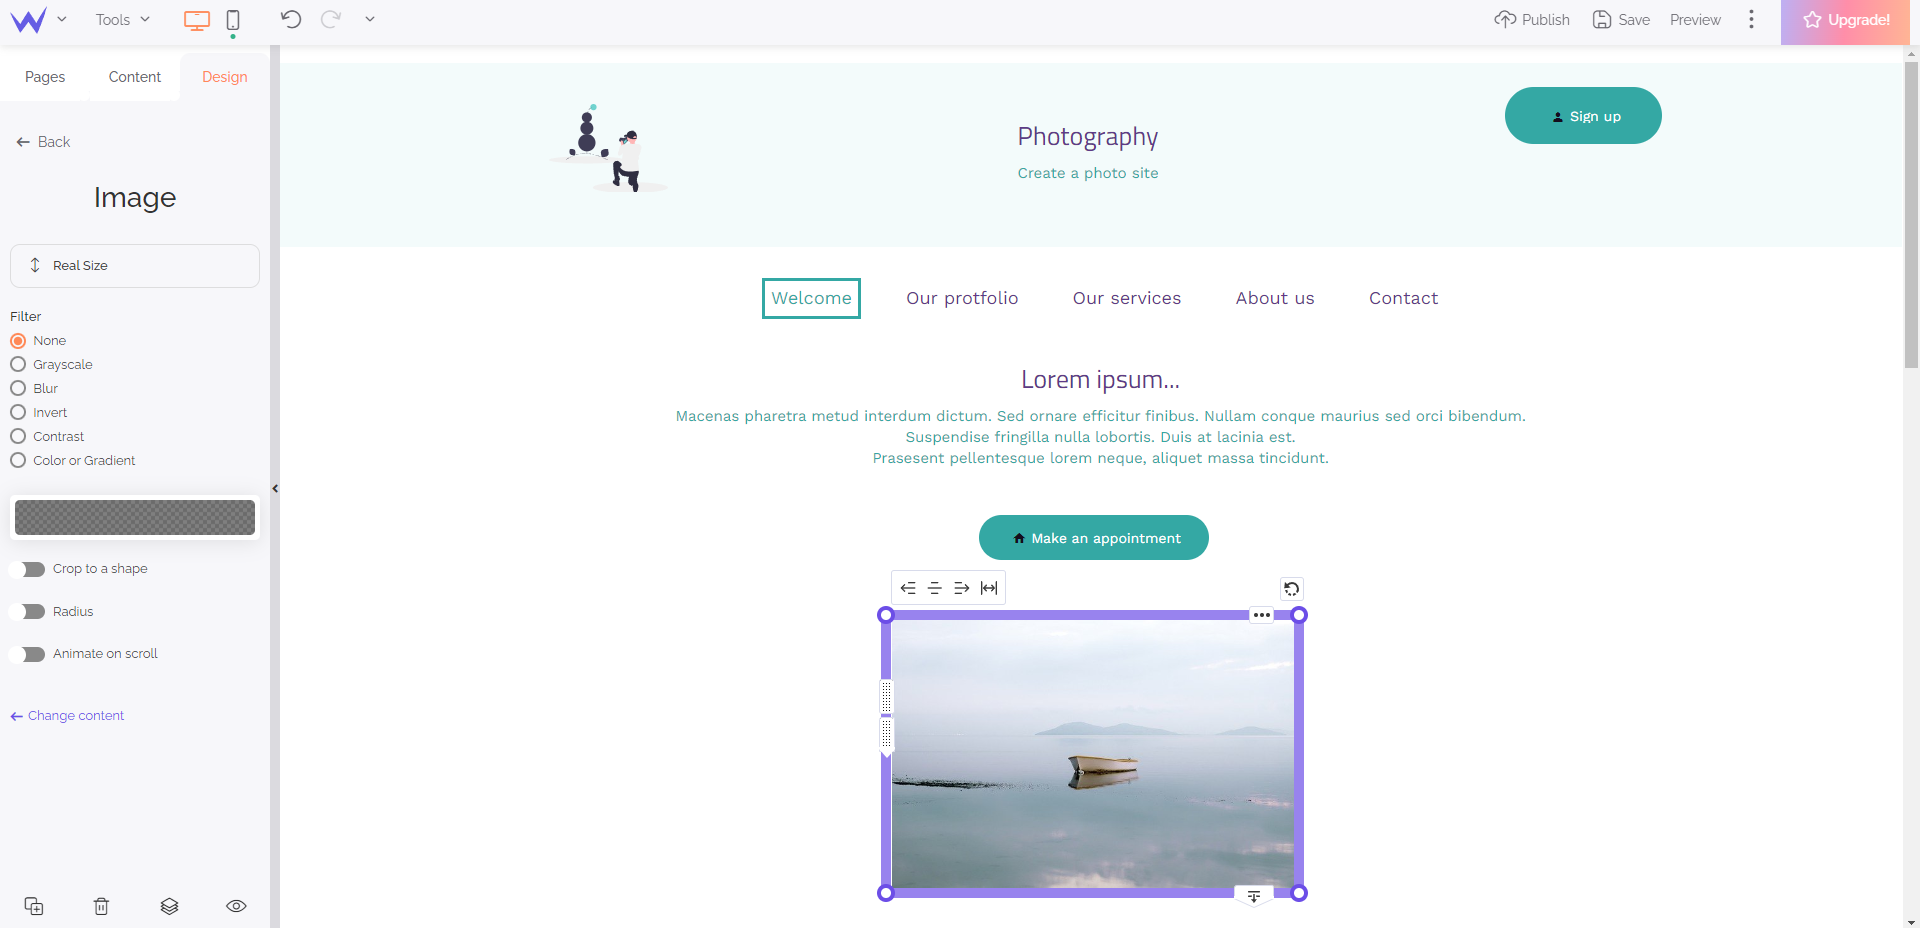
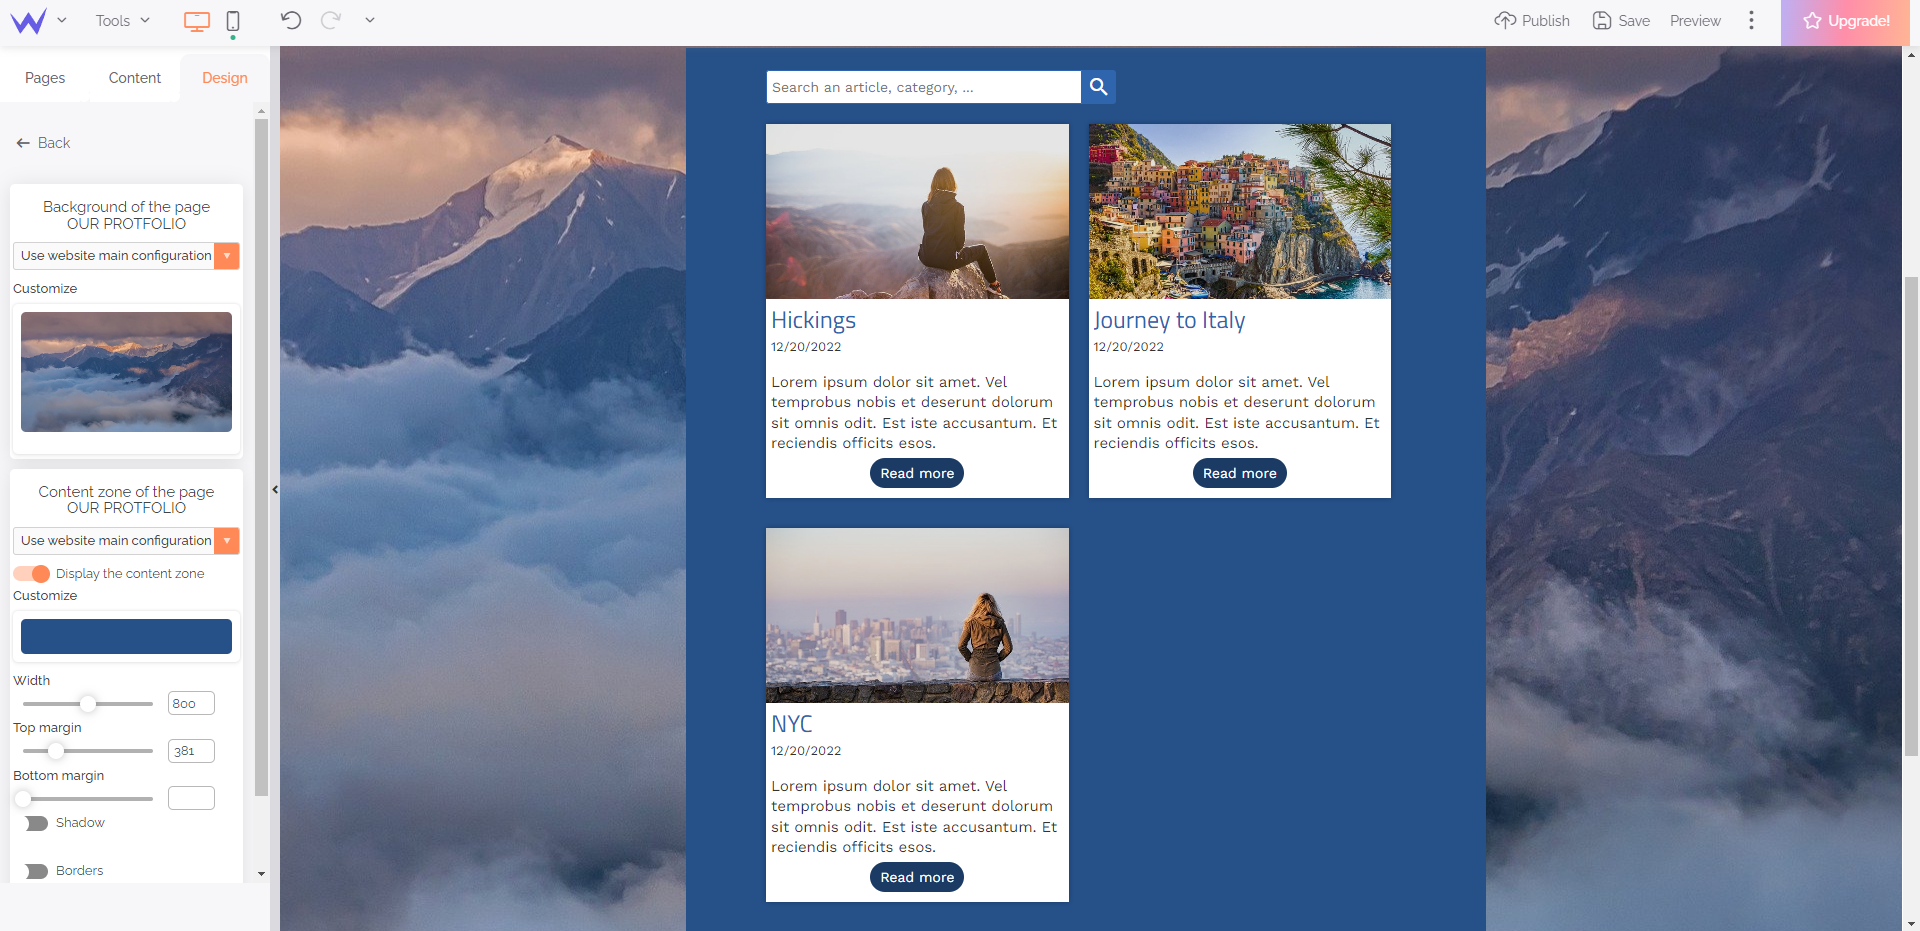
- On the design panel, you can, if you wish, use your photo as background.
You will be able to choose your gallery style, and fully customize it (type of navigation, spacing between images, layout of images, slideshow speed, transition animations, etc.).
You now have some good tips for your next photo shooting.
So let your creativity run wild, to illustrate your website in the most beautiful way! ✨


.jpg)

.jpg)


.jpg)


.jpg)


.jpg)


