There is no need to keep you in suspense: here is the SiteW editor…
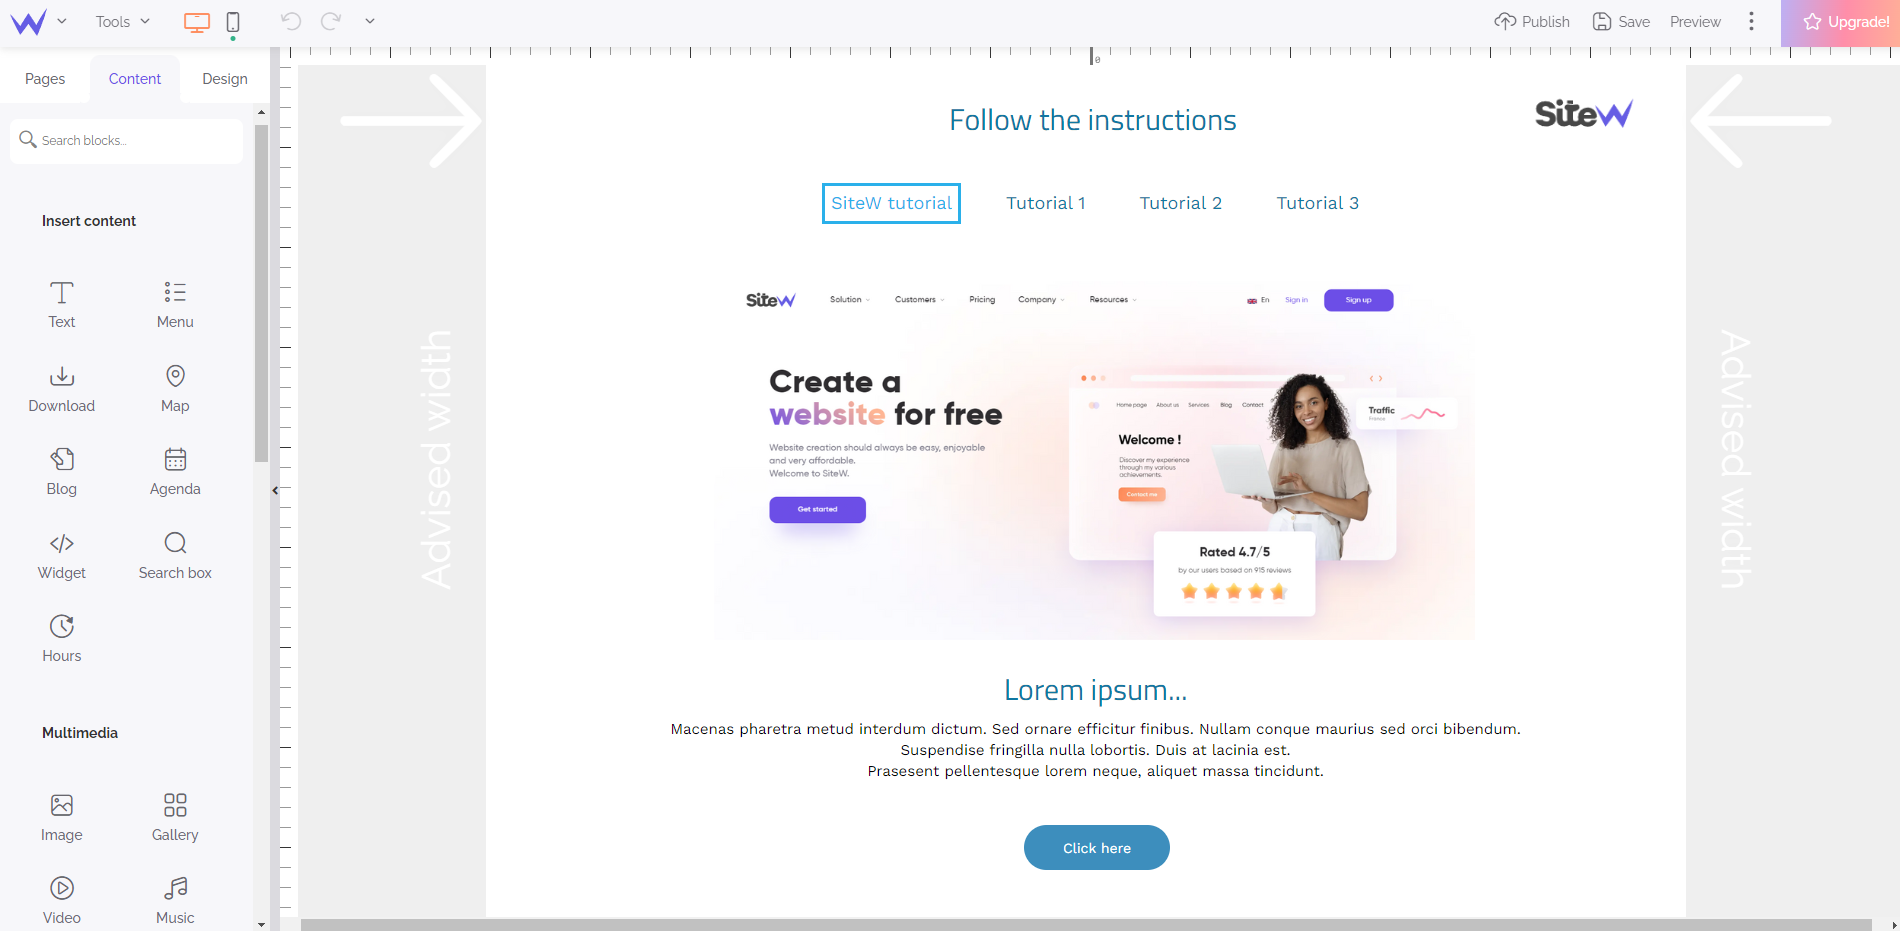
As you can see on the screenshot above, the window of the editor is divided into three large areas.
-
The content area in which you directly build your website pages
-
The panel where you find all the construction elements for your website
-
The toolbar... with many tools!
Wizard
If you open the editor for the first time, a short guided tour will welcome you:
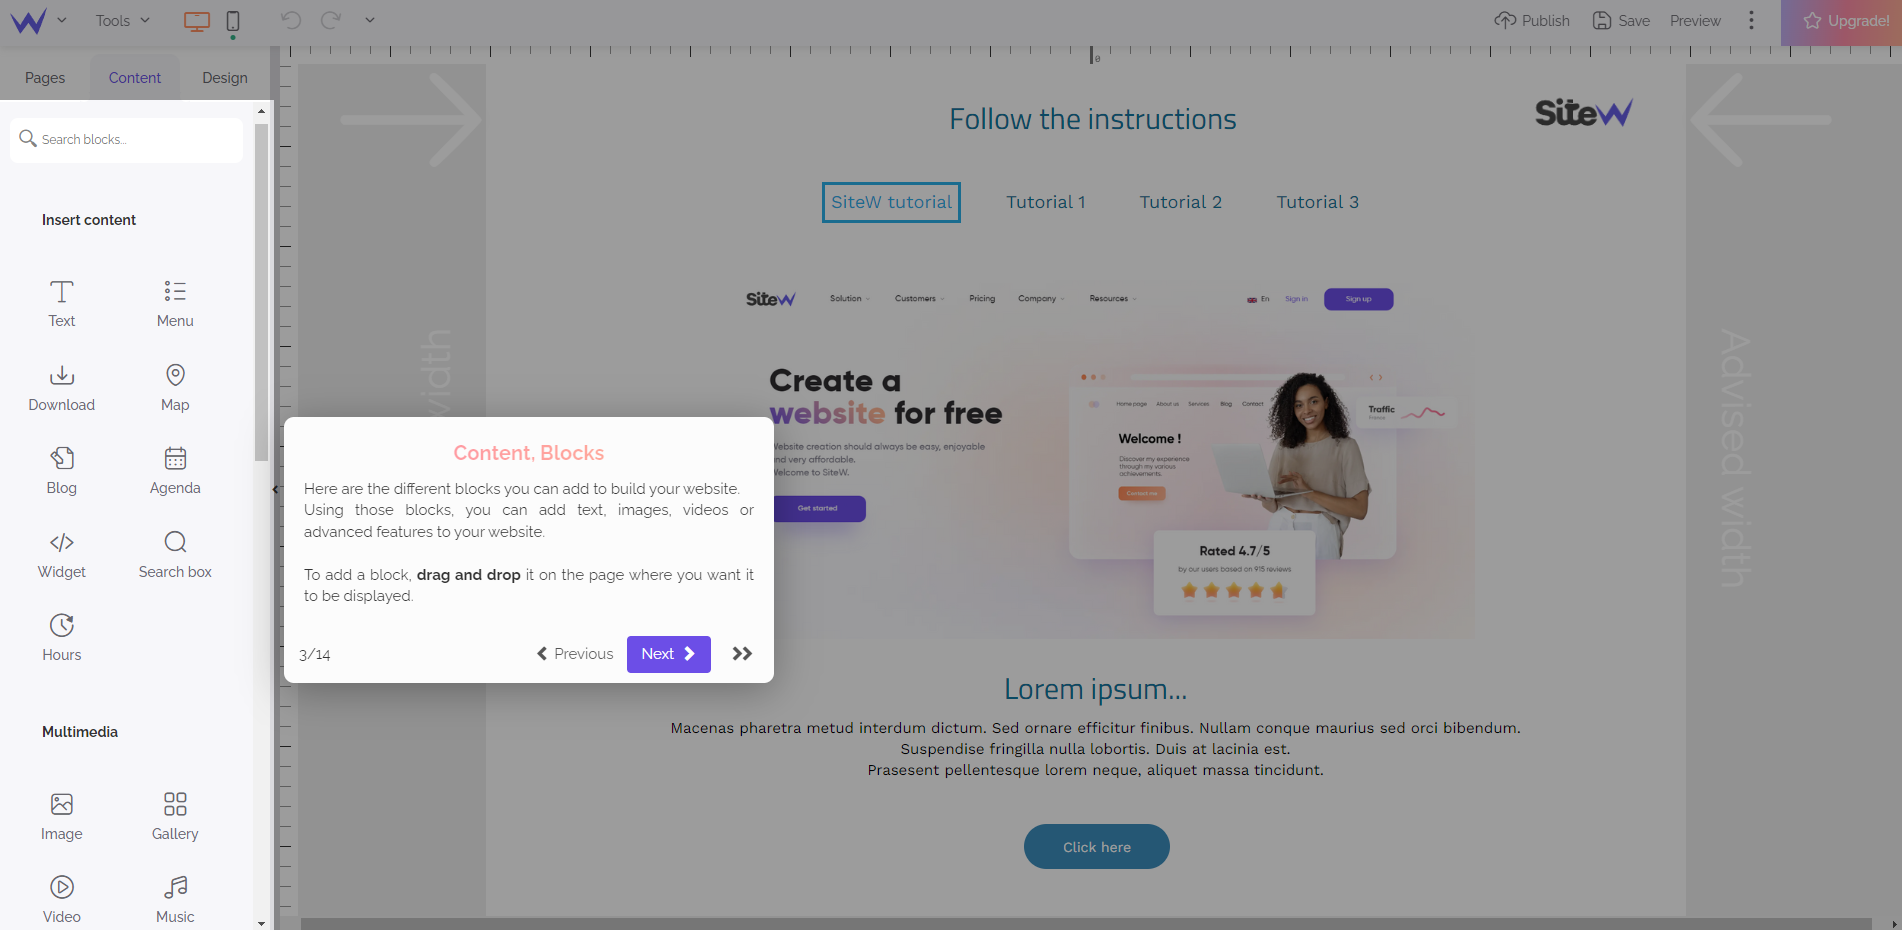
If you liked the guided tour, you can go back to it as often as you like:
The panel
The panel is composed of three different tabs.
Pages tab
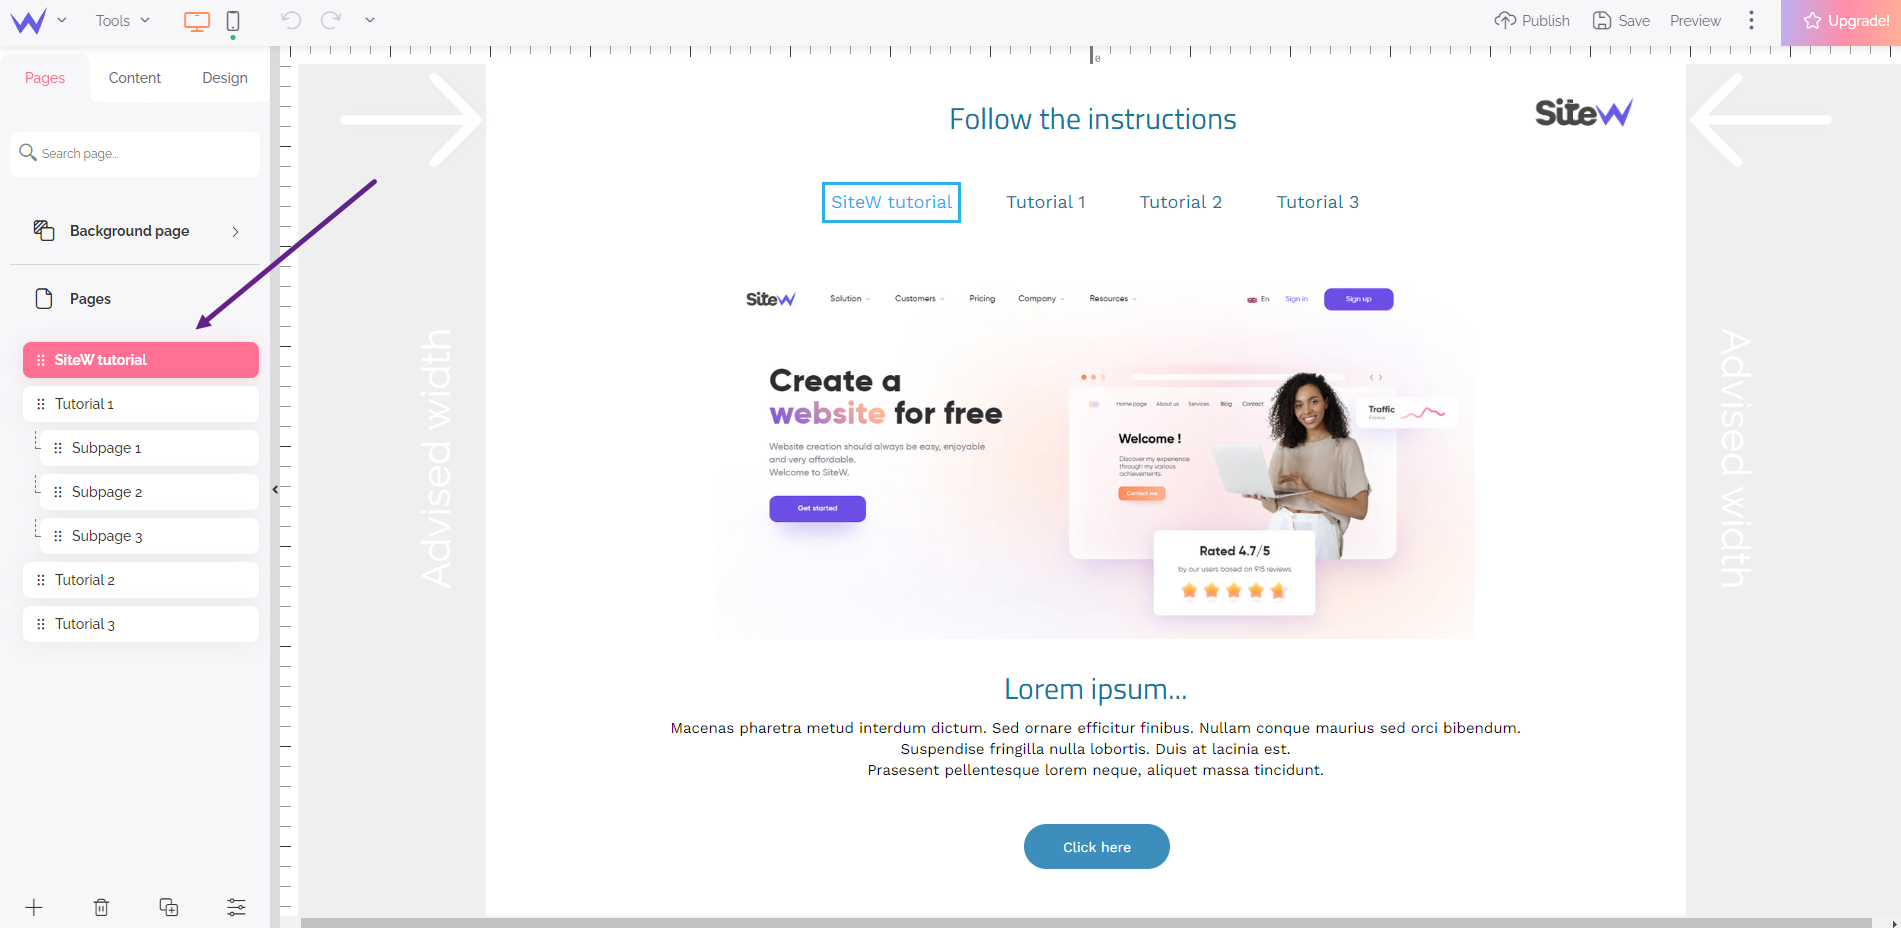
As the name suggests, this tab enables you to manage your website pages. For example, you can add new pages, change their order, rename them… Please note that from the Unlimited package, the number of pages is unlimited!
Content tab
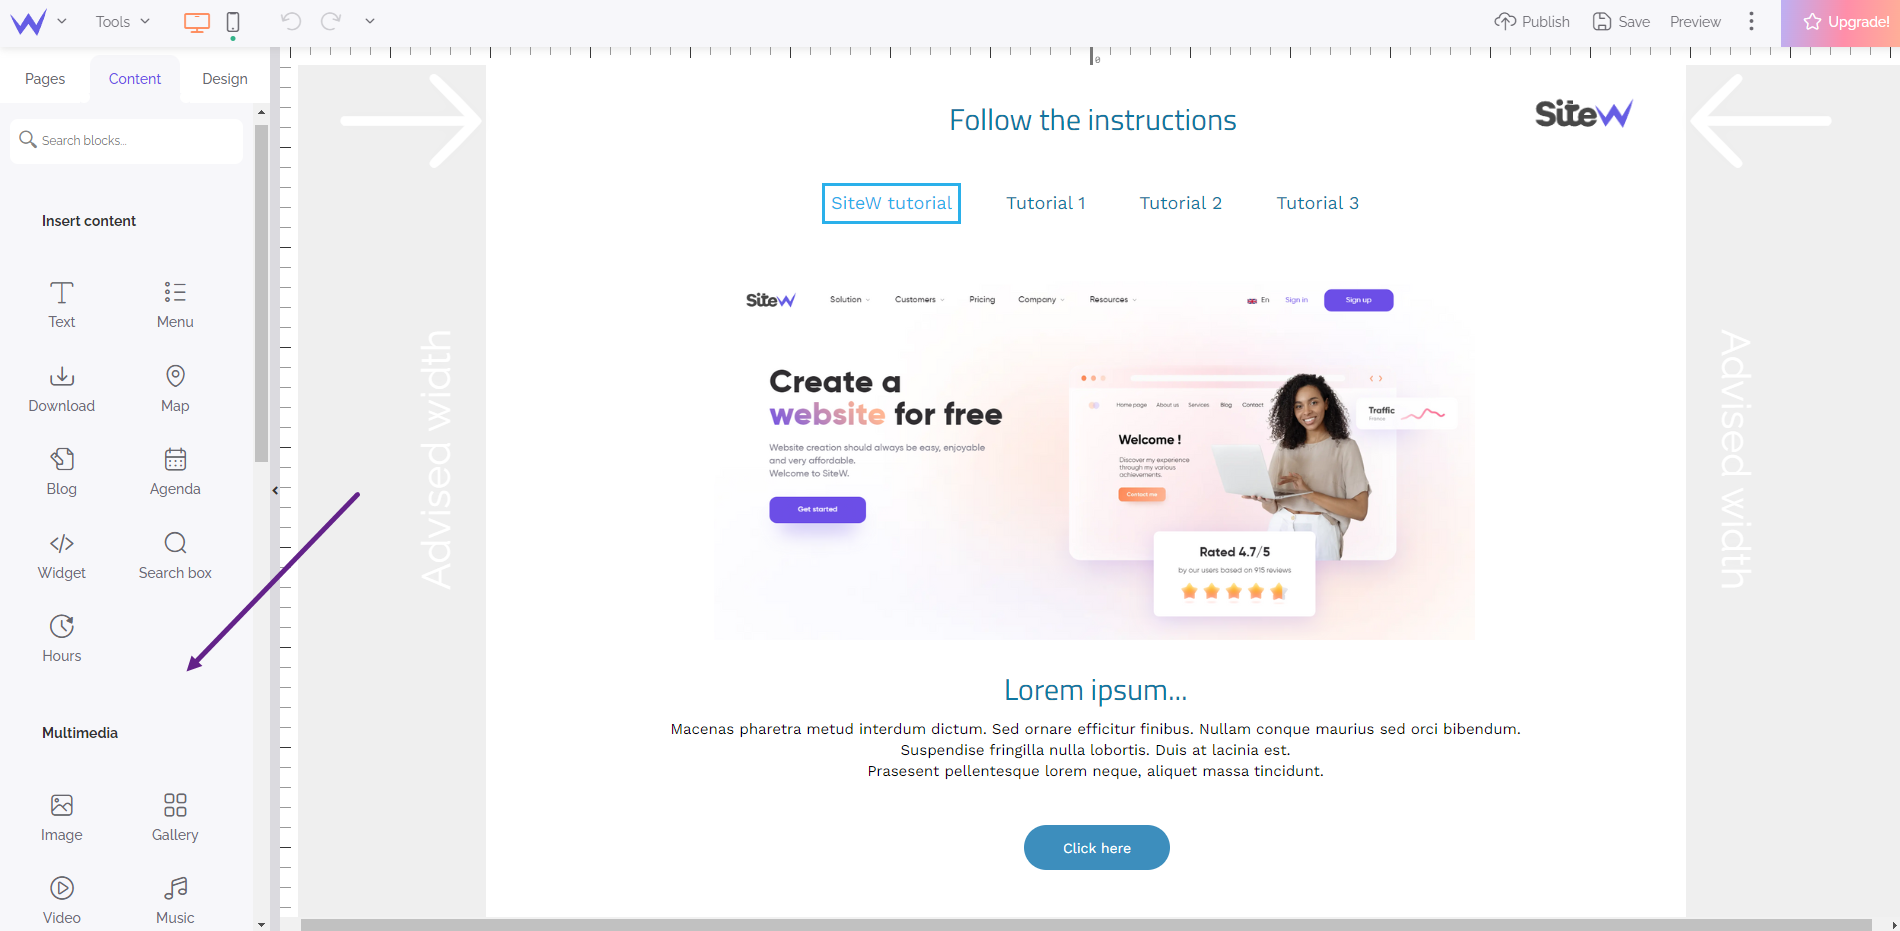
Creating a website means adding some text, putting pictures, setting up the menu, adding a map, etc. To carry out all these actions and many others, you will find the right block in the Content tab. Do not hesitate to scroll the block list in the panel to see that (almost) anything is possible with SiteW!
|
Text
|
Menu
|
Download
|

Map
|
Blog
|
Agenda
|
| |
|
|
|
|
|
Design tab
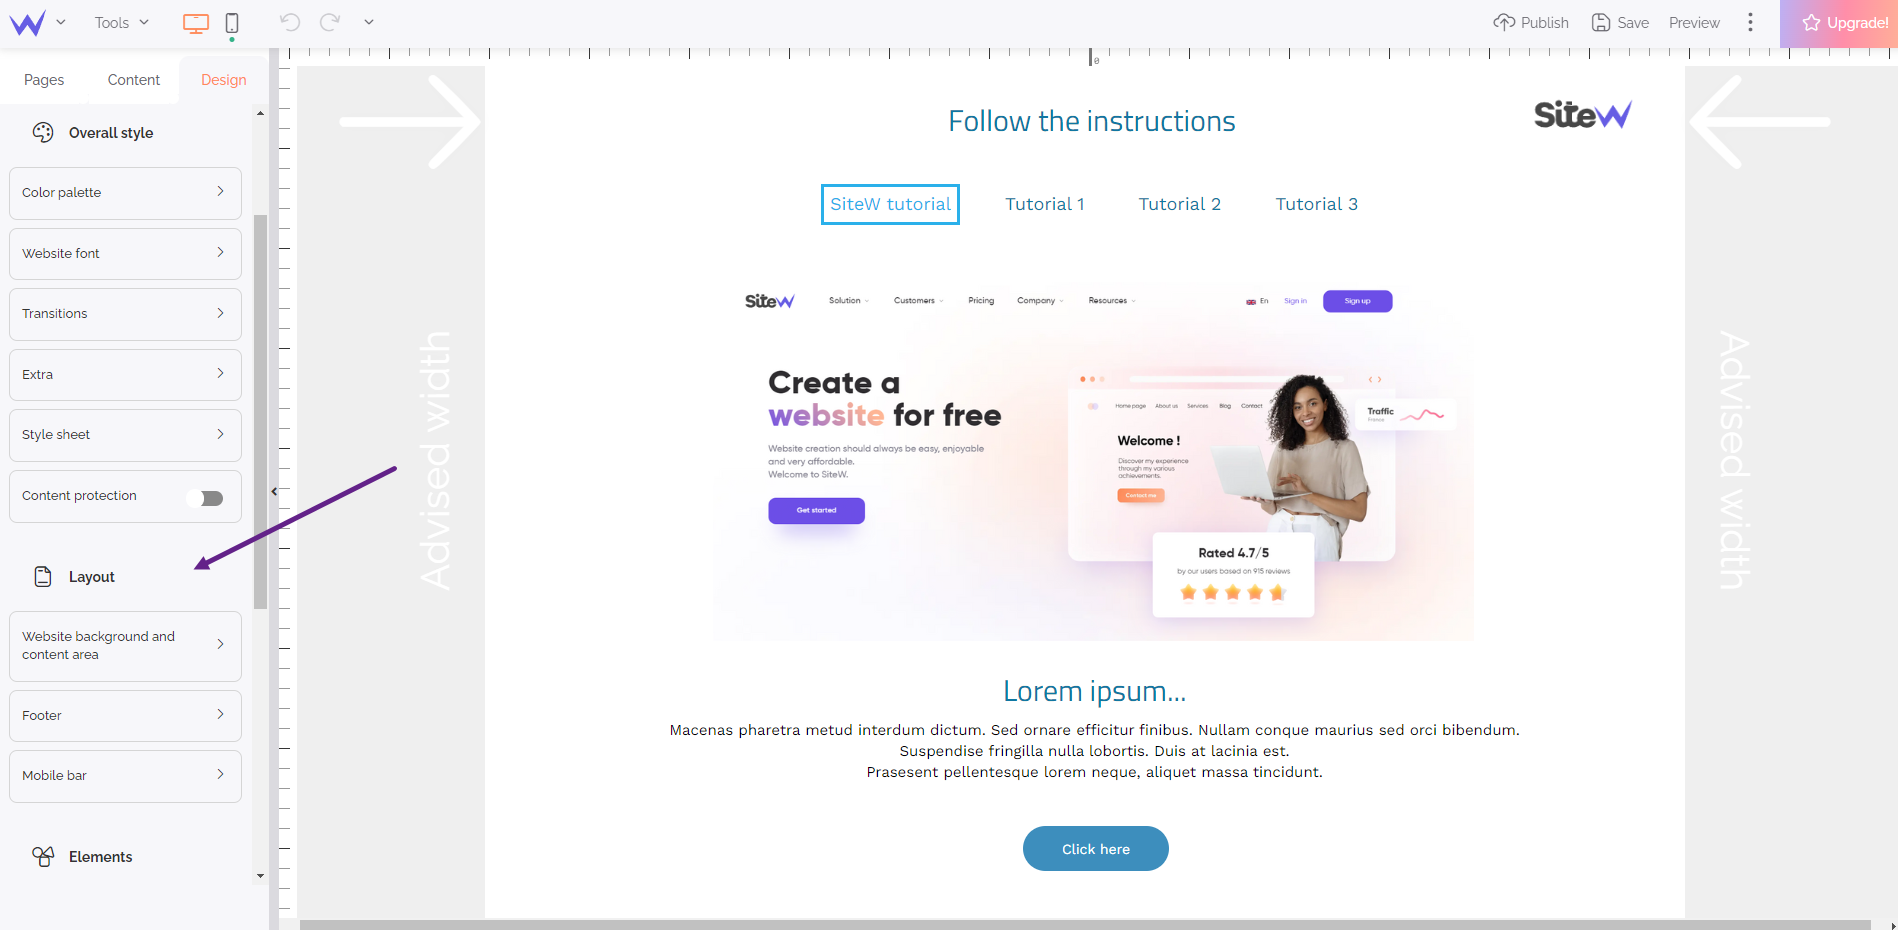
You wish to have a purple button with round corners and a shadow below, and also an “Indie Flower” font for your titles? In that case, you will love the Design tab! In the SiteW editor, everything is totally customizable. Yes, you read correctly: you can customize everything totally from the Design tab…
Left section
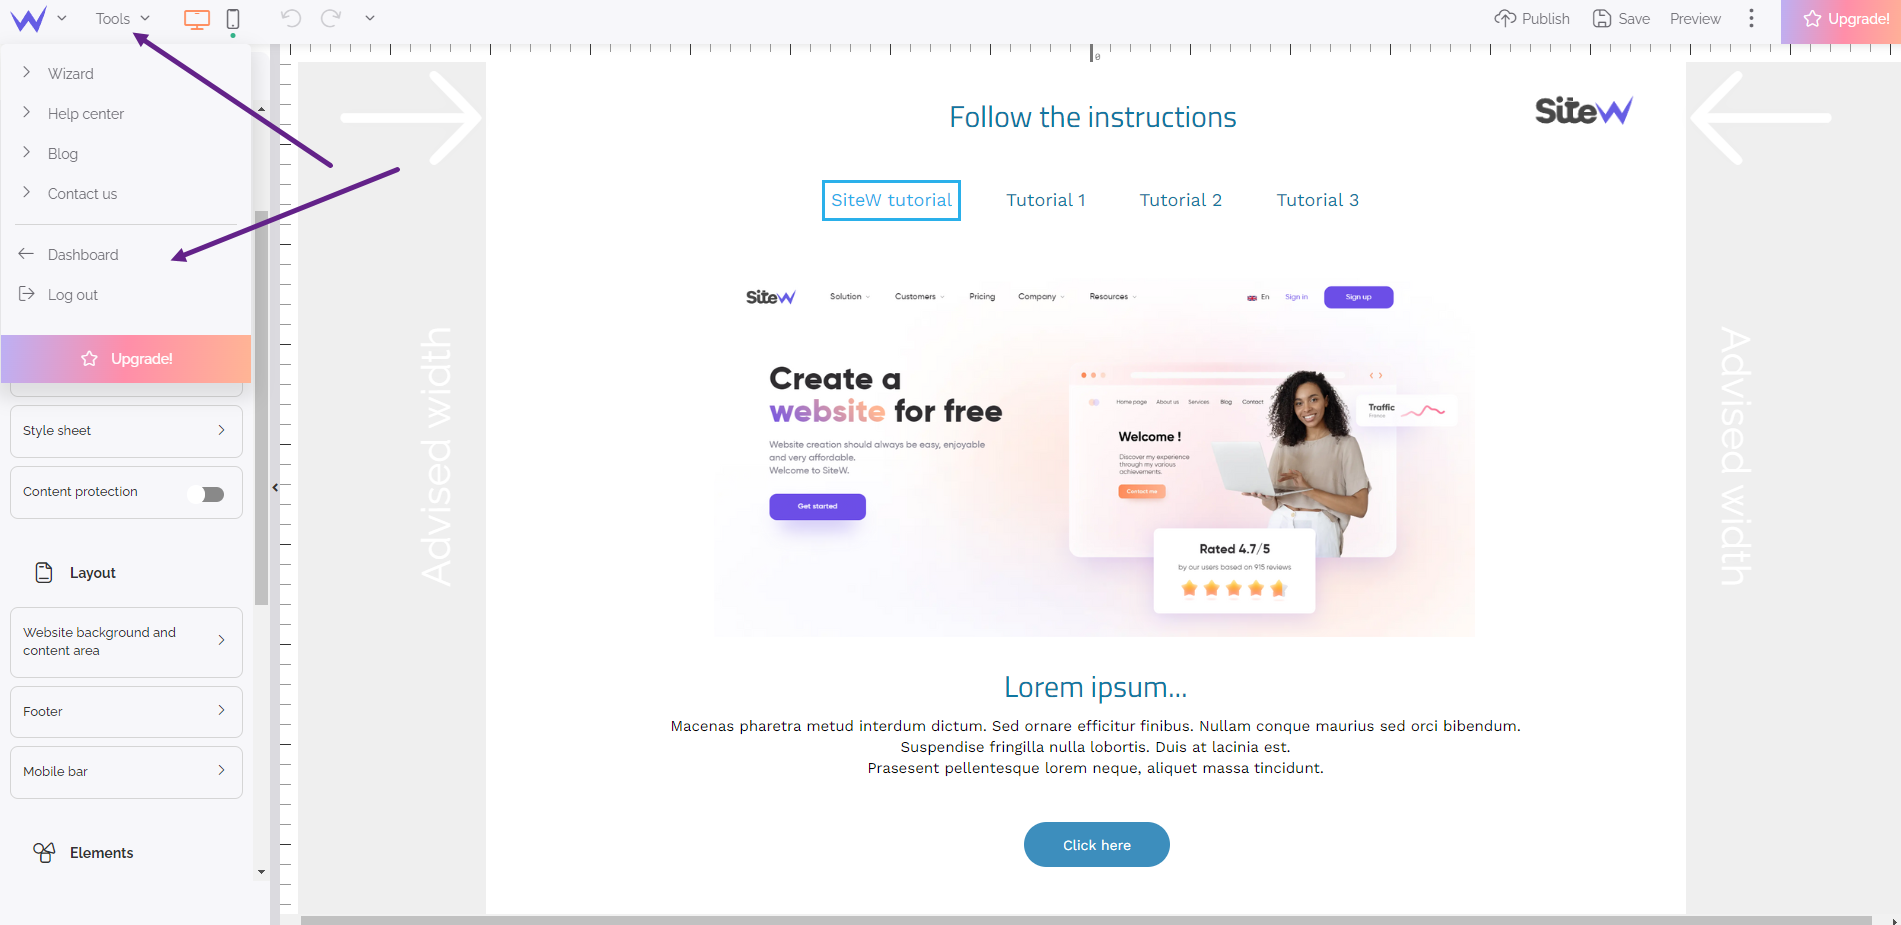
In the top left-hand corner, the “current” or “last” actions. You will be able to manage responsive design, and you will find a toolbox, as well as the back-to-top button. You will also have these possibilities:
-
Access the SiteW menu (W icon) where you can use additional resources, get in touch with us, back to the wizard or just leave the editor.
-
Access the toolbox, where you will find different settings: activation of the recommended maximum width, automatic alignment, rulers and guides, or the files' manager.
-
Switch from the desktop view to the mobile view for your website
-
Enable or disable the website creation tools
-
Cancel / Restore your actions in the editor
In the next tutorial steps, you will discover a part of these tools.
Developers’ tips ;)
Move the mouse over the icons to see their function.
Right section
In the right section of the toolbar, you will find all the "future" actions with buttons for the publication, preview, and upgrade of your website.


